By Tom Jow — During my career as a bicycle technician, it has been my duty to prepare the two-wheeled machine so that its rider can perform at their best. That means presenting a clean bicycle that operates safely, smoothly and quietly. Therefore, my personal bikes, most people would expect, would also be “ready to race” at any moment. Nothing could be farther from the truth. In fact, it has almost become a personal challenge to see how much squeaking, grinding and knocking I was able to put up with. One of the things I put up with most of last summer was clogged tubeless tire valves. Unlike “tubed” tires, tubeless tires on road, gravel, and mountain bikes require periodic maintenance.
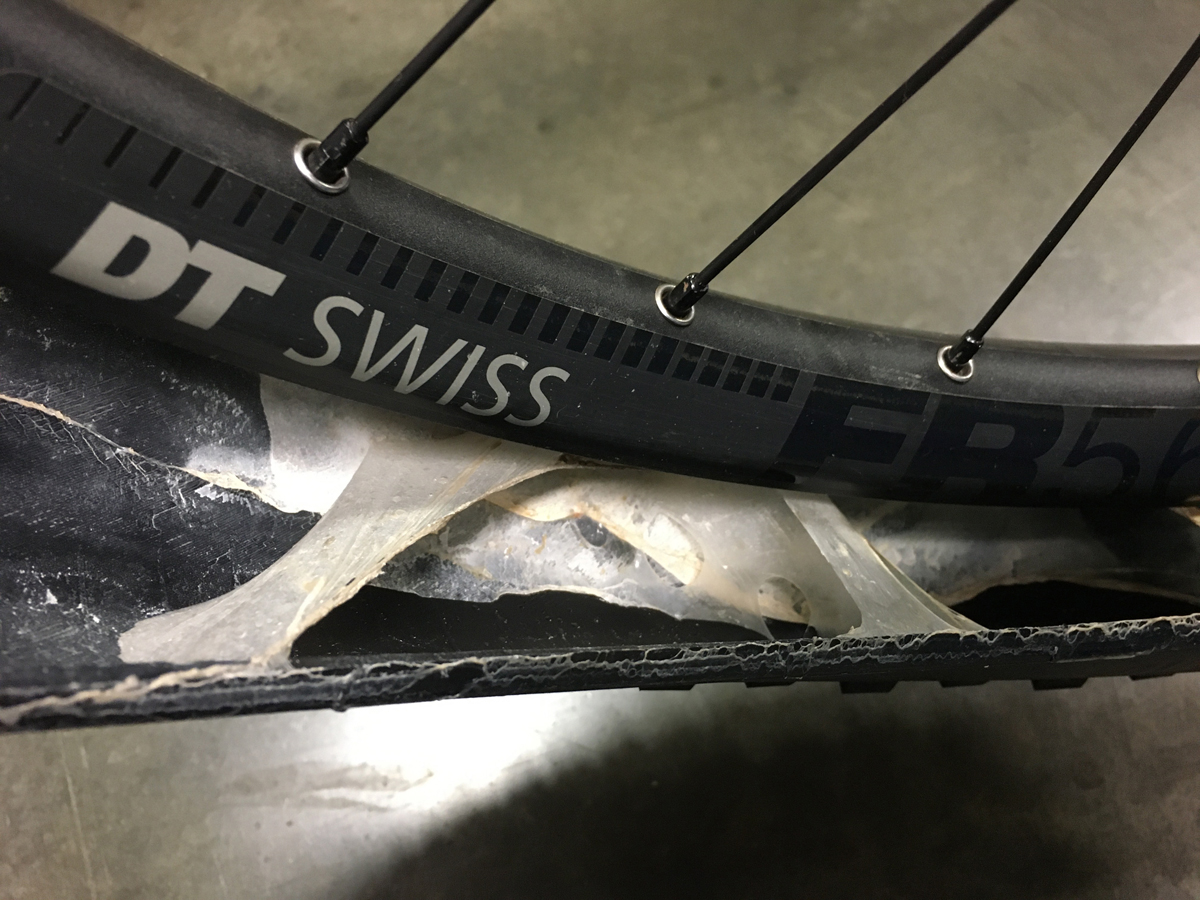
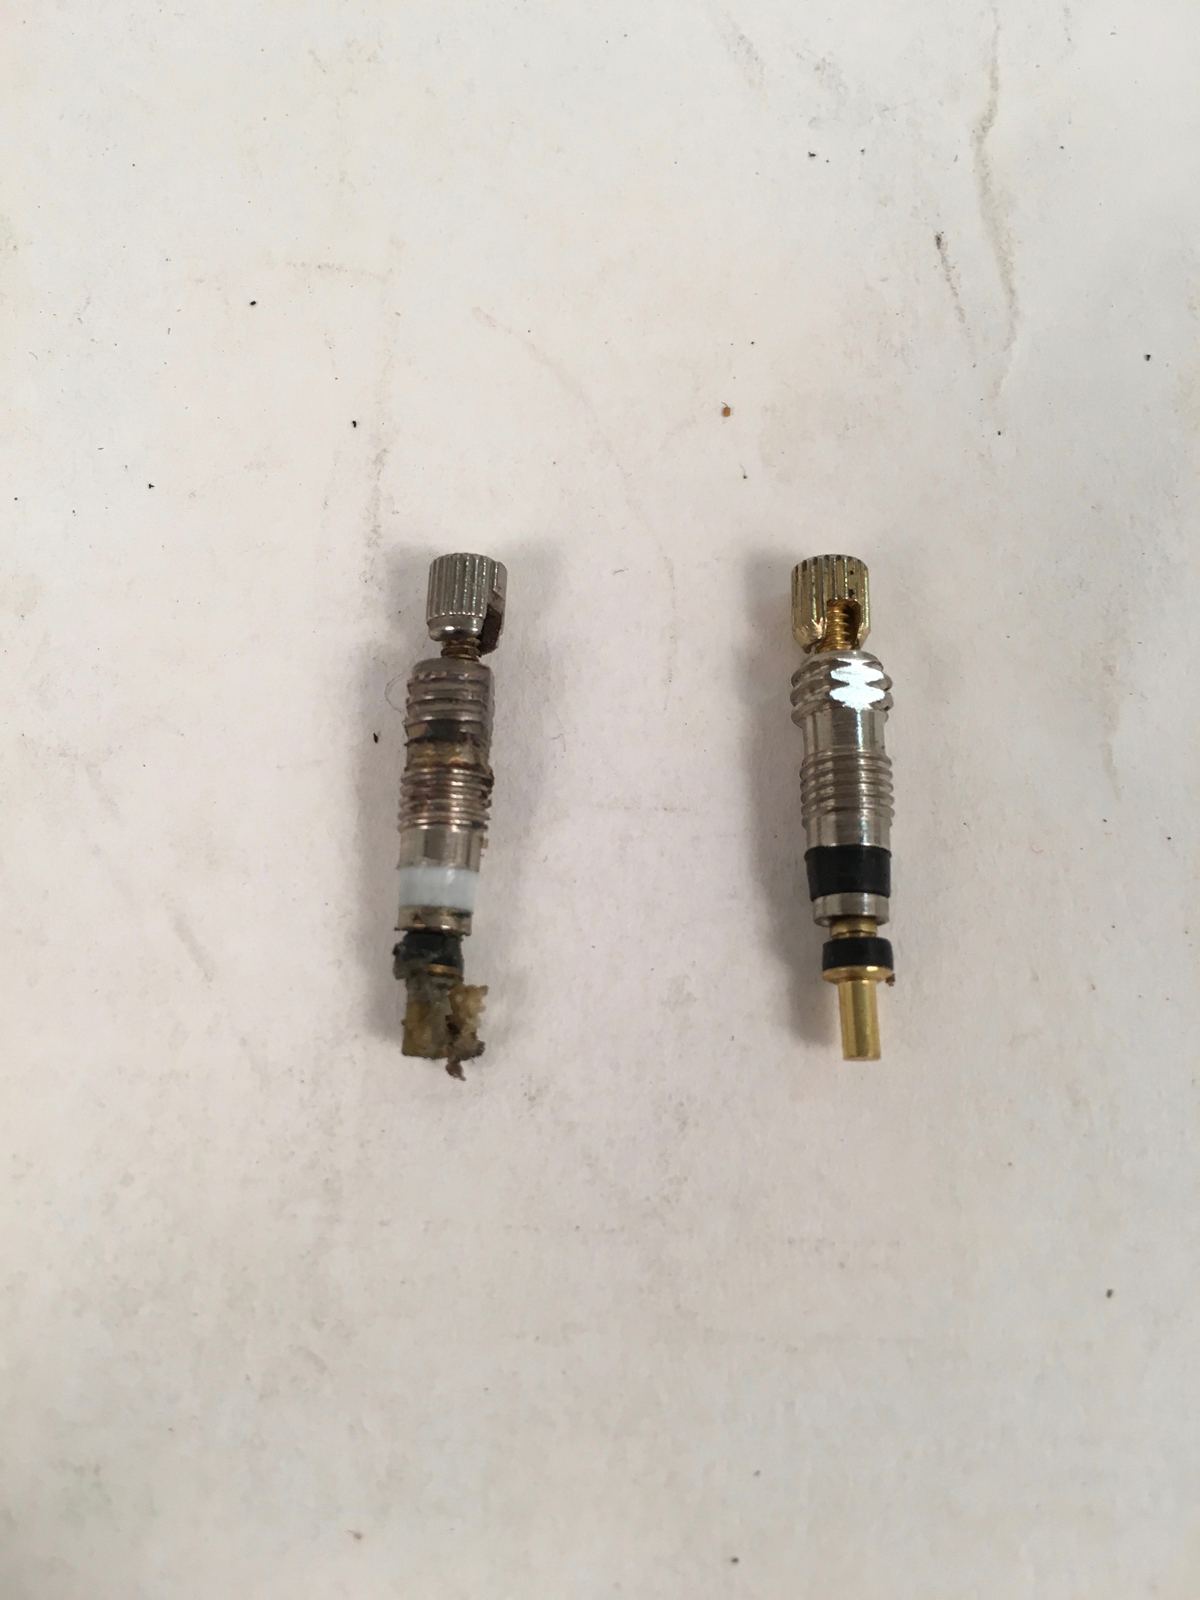
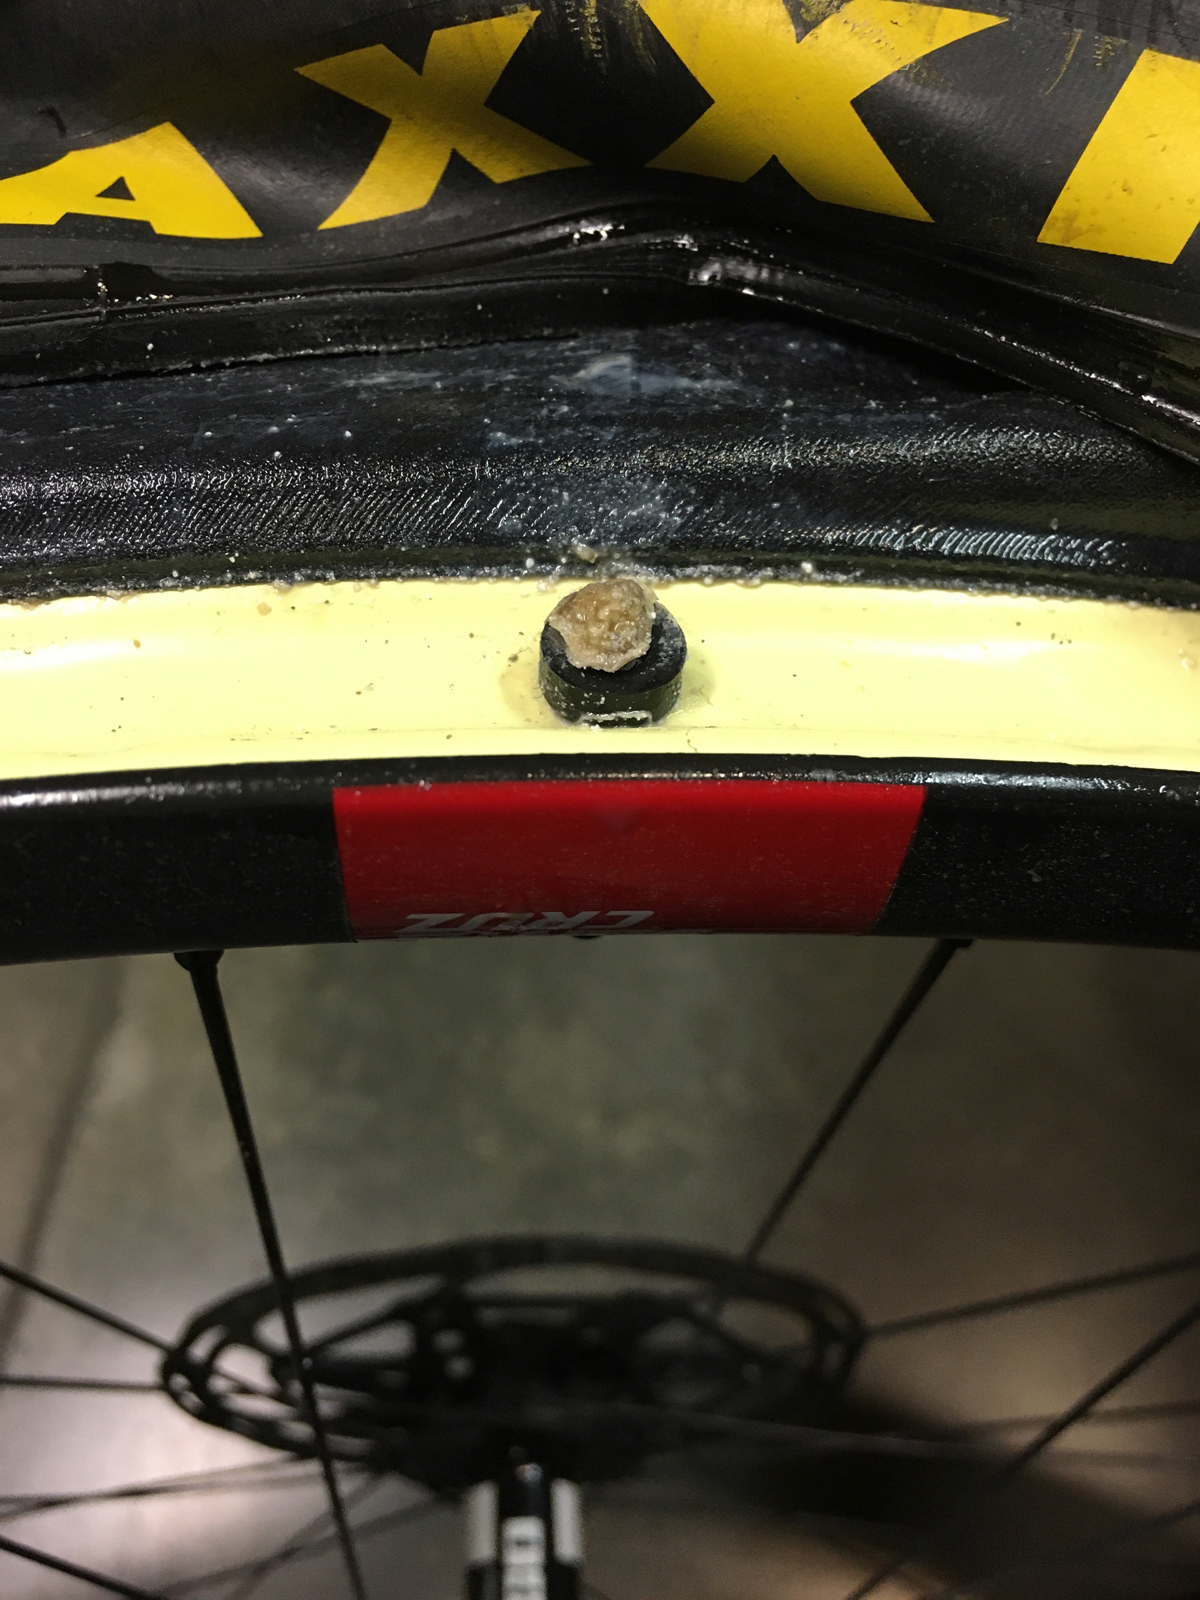
The current version of tubeless bicycle tires uses a tight-fitting seal between the tire and rim with a liquid sealant inside. It is the liquid sealant that creates the need for maintenance. Why? There are two reasons. First, because bicycle tires are not one hundred percent airtight, the liquid medium of the sealant evaporates over time. In extreme cases, evidence of this shows up as what appears to be large wet areas on the exterior of the tire casing. The second reason is the tire valves can become clogged. This occurs because the tire sealant is designed to seal punctures up to approximately 3mm in diameter. Conveniently the inner diameter of the tire valves is approximately 2.5mm.

How then shall we service the tubeless tire system? For periodic in season maintenance it can be as easy as refreshing the sealant and replacing the valve core. Do this by first removing the valve core. Follow this by installing a small amount of sealant through the valve. When installing the new sealant, place the valve stem at approximately the four or eight o’clock position. In this position, the sealant flows out of the valve stem and down to the bottom of the tire. This helps prevent clogging the valve stem. Finally, install a new valve core and inflate. Valve cores, core removal tools and sealant refresh kits can be ordered or purchased at your favorite local bike shop.
For a more extensive service, such as at the beginning of the season, tire removal is recommended. Before removing the tire, wash the exterior of the tire and wheel with soap and water. When dry, remove the tire from the wheel. Be prepared for a wet sticky mess. When I do this at work, I first carefully dismount one side of the tire over the trash can. Then, gently pour out any remaining sealant. Wipe out the inside of the tire with a rag before completing the tire removal. Once removed, wash the inside of the tire and the rim bed with soap and water. Inspect the valve stem for blockage and the rim tape for any cuts or damage. If necessary, clean the valve stem and replace the rim tape if damaged.
Reassembly starts by installing one half of the tire. Be sure to orient the tire to the manufacturer’s recommended direction of rotation (pro tip: orient front and rear tires with the tire name at the valve stem). Installing the second tire bead and sealant can be done in one of two ways. The potentially messy way involves now pouring sealant into the tire, and then gently, without spilling, fold the second bead onto the rim. To complete the tire installation the less messy way, fold the tire bead onto the rim and before inflation, install the sealant through the valve stem. In either case, begin the second tire bead installation opposite the valve, and finish it at the valve.
Inflation of an unseated tire is best done with an air compressor (wear eye and ear protection please) or a bicycle tire pump specially designed for tubeless tires. Perform this first inflation with the valve core removed. Without the valve core a higher volume of air flows into the tire which more easily enables the seating of the tire beads. Then, as mentioned earlier, rotate the wheel to place the valve at approximately the four or eight o’clock position. After the beads are seated install the valve cores. Inflate to your desired pressure. Service complete!
One of the great things about bicycles is the fact that they will continue to operate despite neglect and lack of maintenance. This includes modern tubeless tire systems. Despite the old “tube” tire system being virtually maintenance free, tubeless tire systems, while a little messy, require only a little more care to operate flawlessly. Don’t put up with clogged tire valves. Tubeless tire service can be easy.
Thanks for the tips. I use Stan’s in my tubes, which helps a lot to keep me running. I can pull out goatheads even while riding and still make it home ok. I have little wet spots on the tire but still have air. If I need air while riding, I use a CO2 cartridge. To keep the valves from clogging with Stan’s, I use a cotton swab tip after adding Stan’s. Then Insert the valve into the tube and inflate. Seems to work well for me.