By Tom Jow — The modern carbon fiber frame is a work of art. With swoopy curves and smooth joints, what really makes them beautiful is the lack of cables outside the frame. What the internal cables lends to beauty may also add to complications for service. Replacing the cables, however, does not have to be an exercise in futility. What is required are the correct tools, an understanding of the specific type of cable routing and some patience.
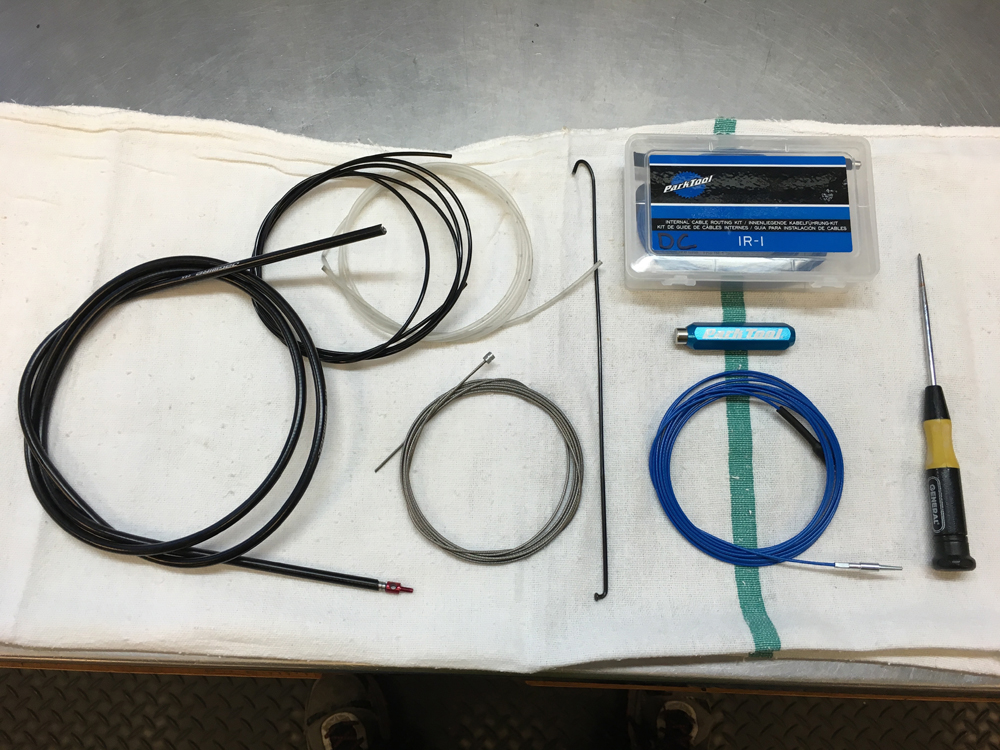
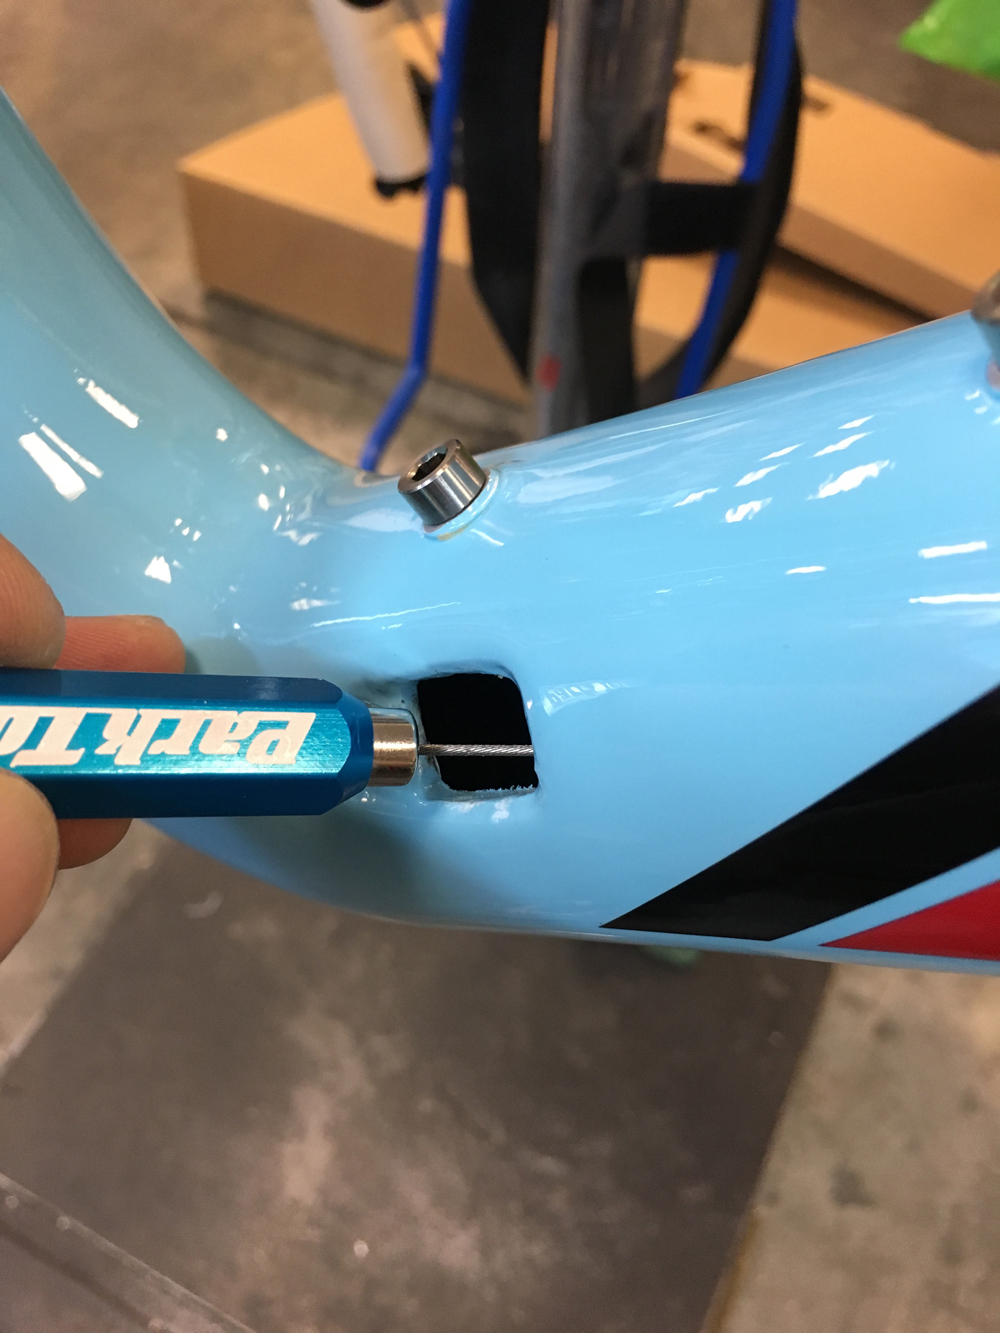
Until the development of carbon frames, there were not that many bikes that used internal cable routing. As such, there were no tools that could be purchased for the job. Every mechanic had his/her own special collection of instruments for each task. These collections would include spokes bent into hooks and curves, teflon liners of various lengths, cables with just the right bend and so forth. Much to the benefit of all mechanics, Park Tool Company has developed the IR-1 cable routing kit. This kit consists of a powerful magnet and three cables with various tips. Another essential tool to have is a bright headlamp.
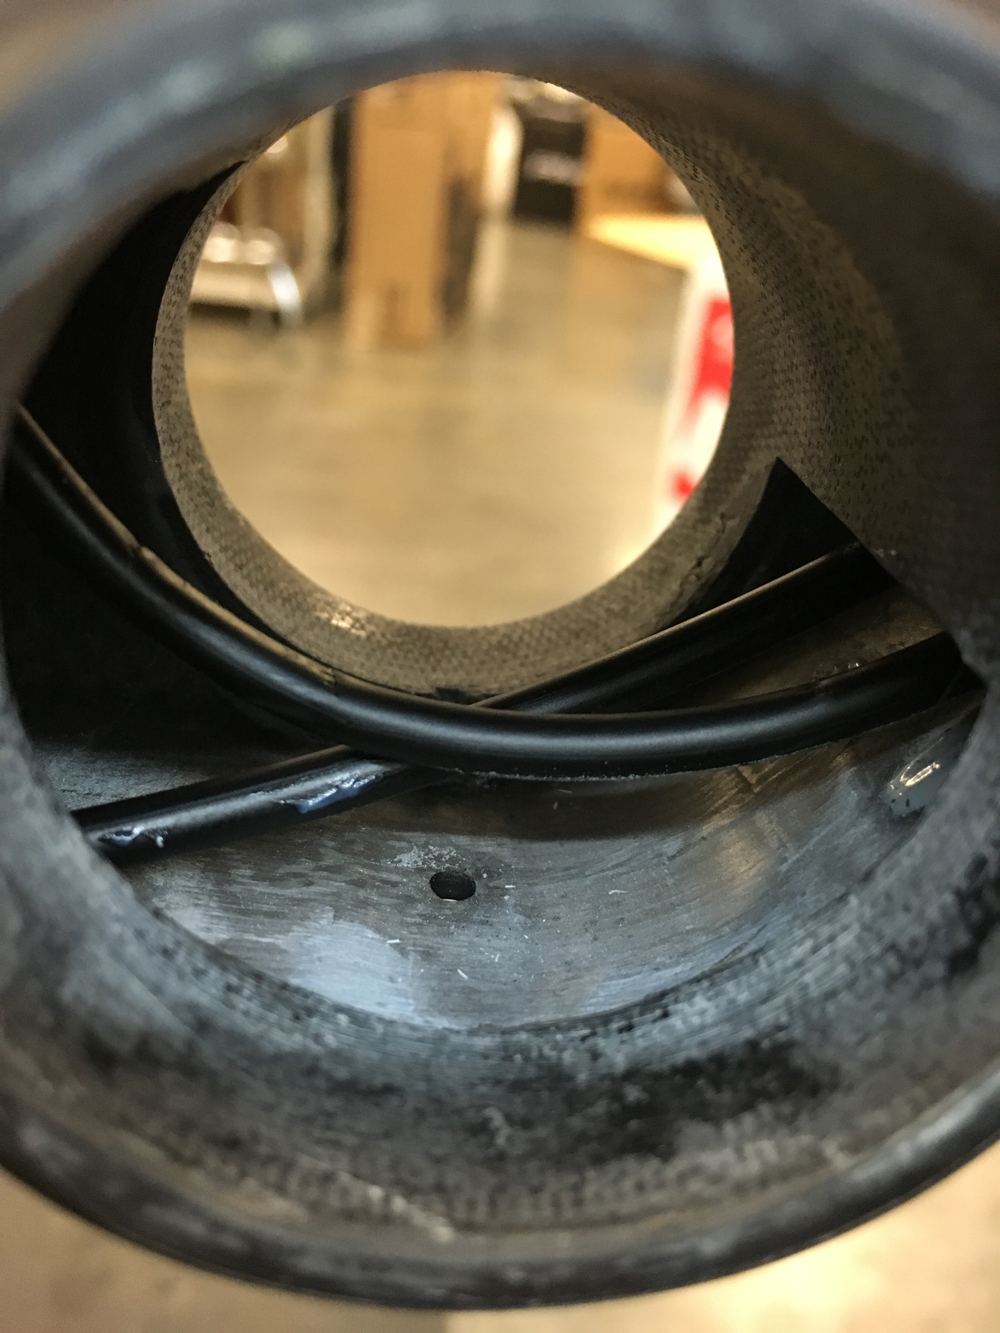
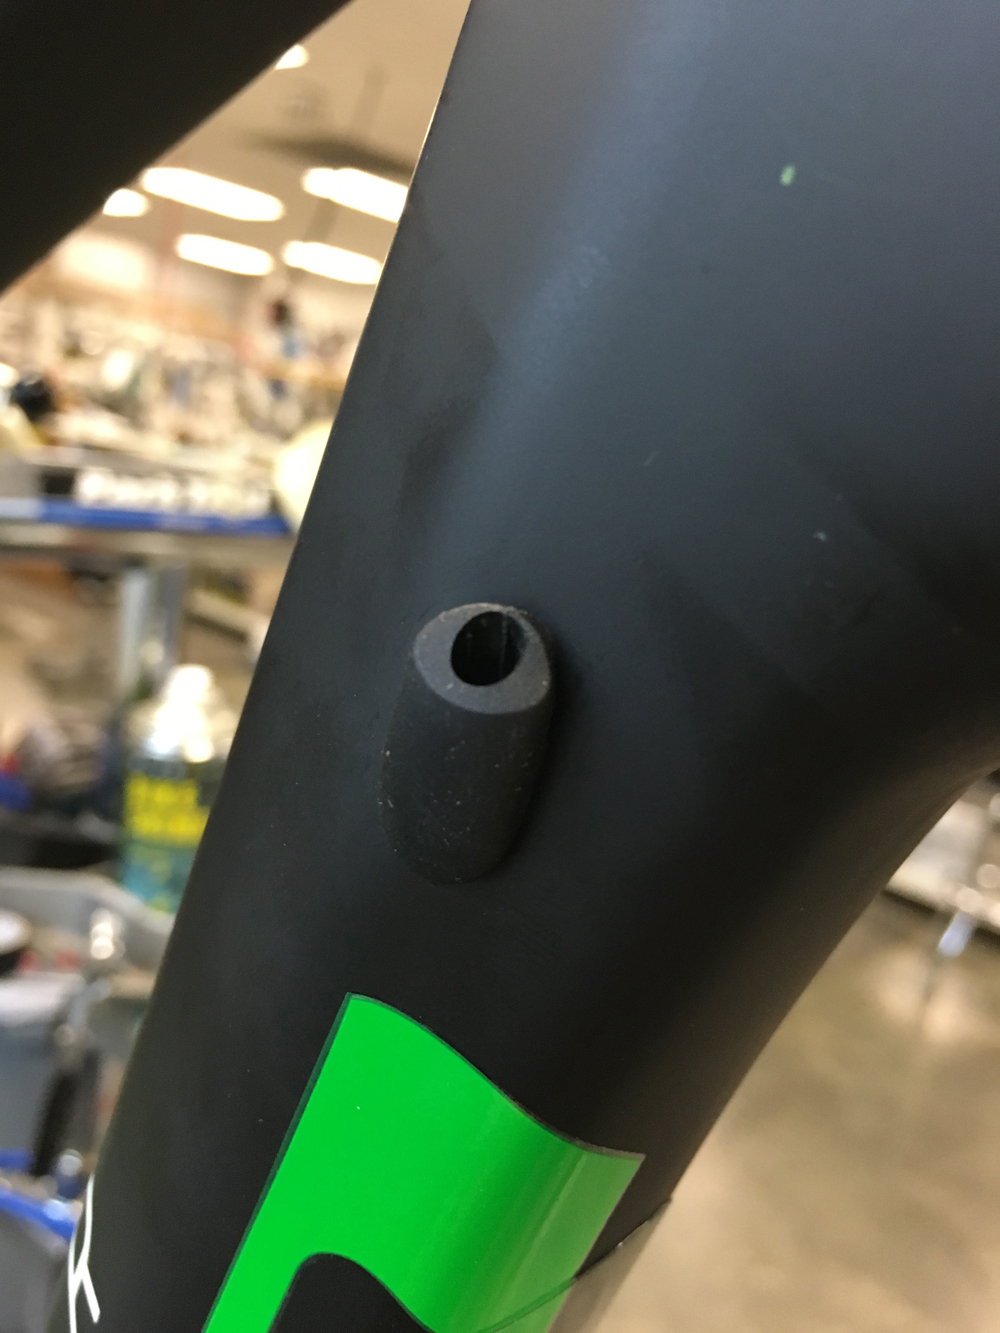
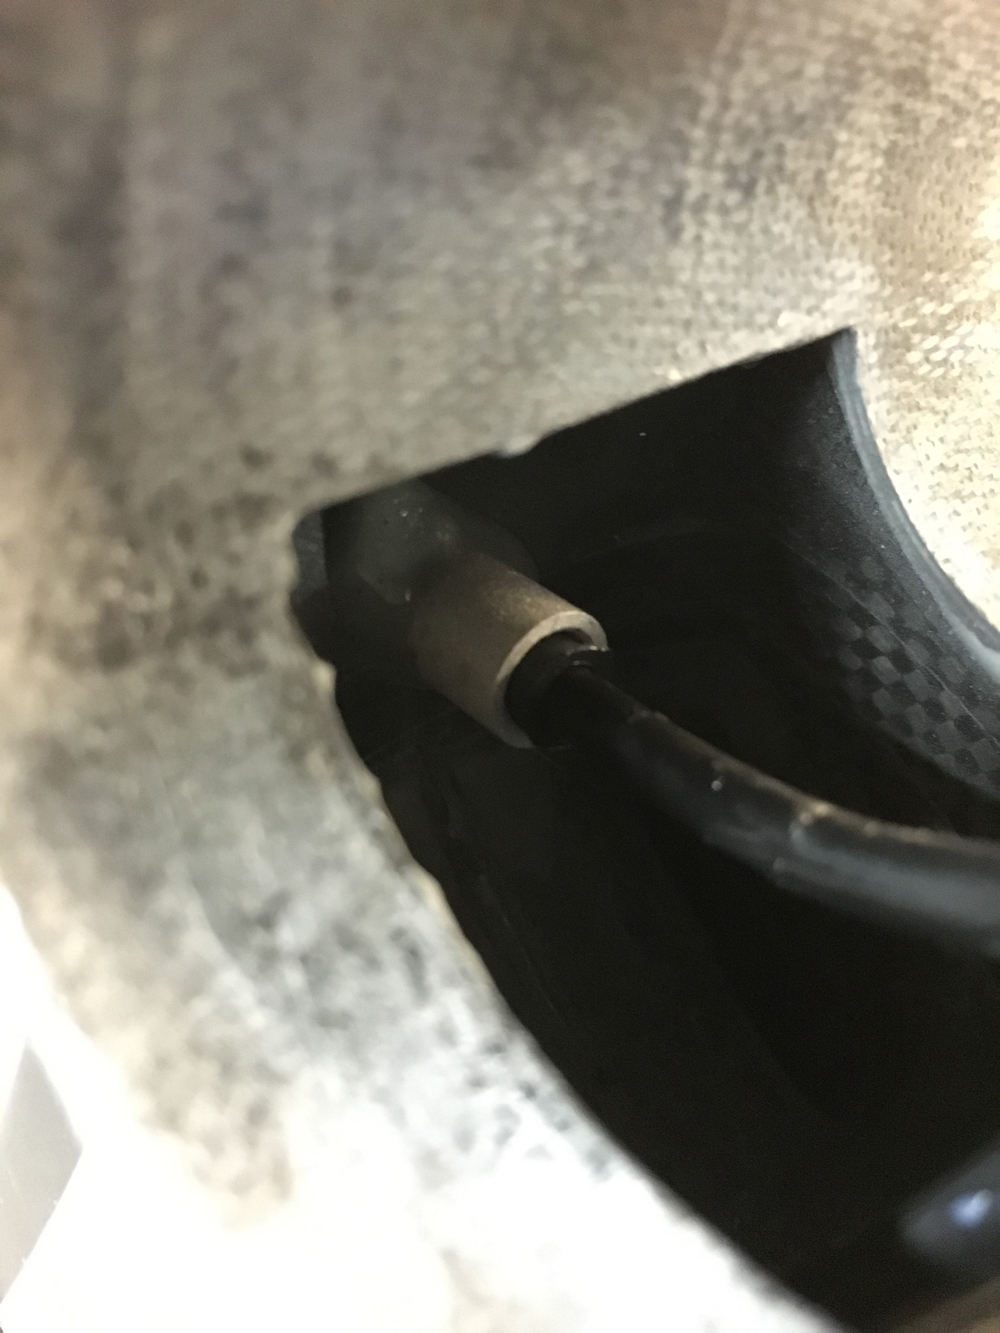
Before we tear into things, it’s a good idea to consider what we are dealing with. There are several different types of routing used by frame manufacturers. There can be open tube, where the cable or housing runs free inside the frame tubes, or sleeved. The sleeve type has a tube that runs full length from opening to opening. The cable housing runs full length through this tube. It is the rare manufacturer that does this for all cables.
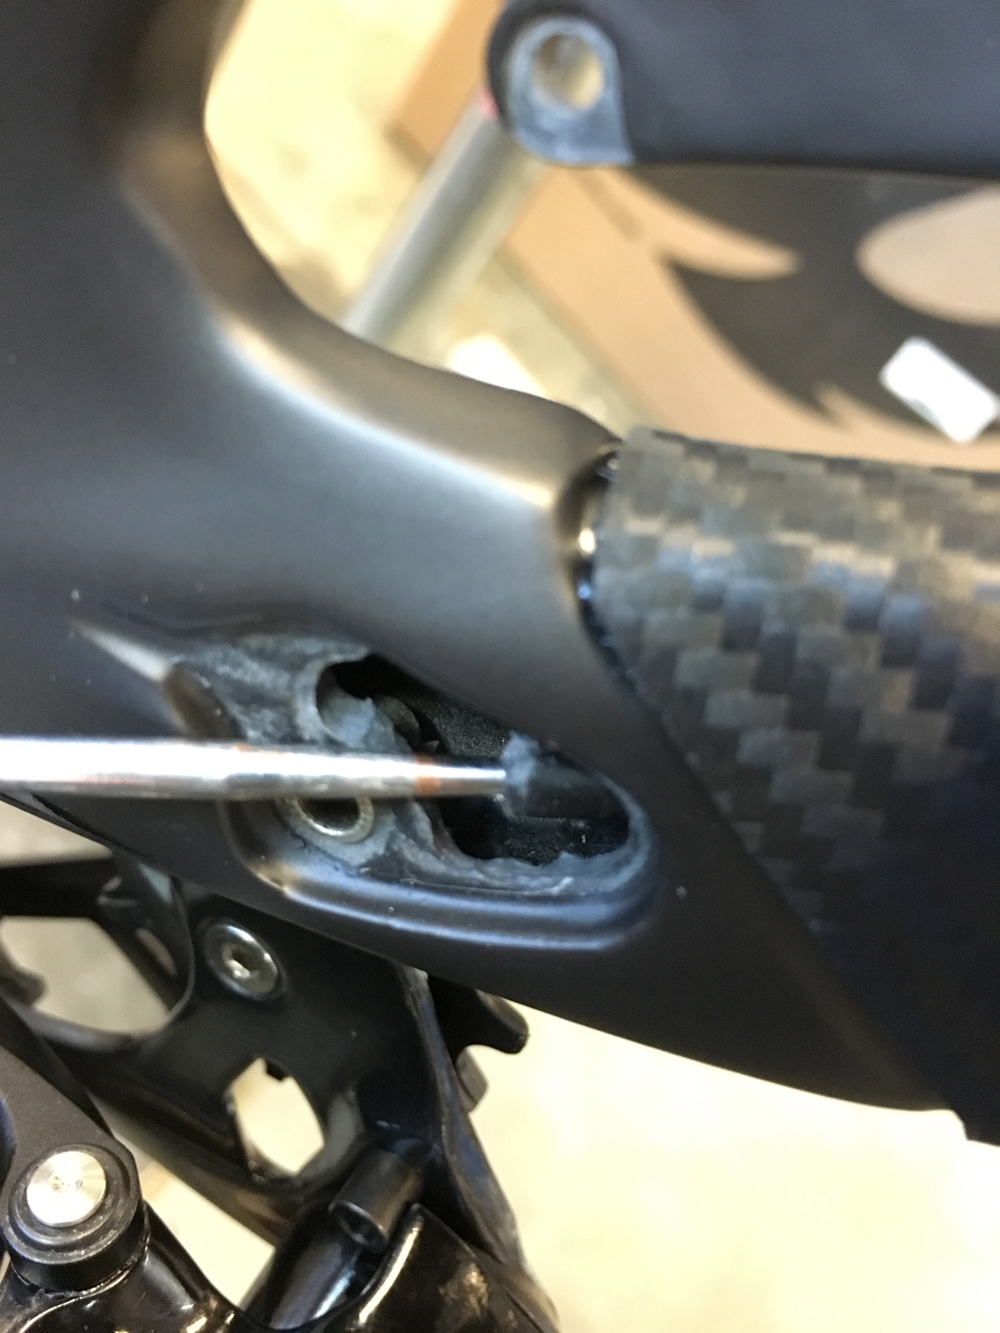
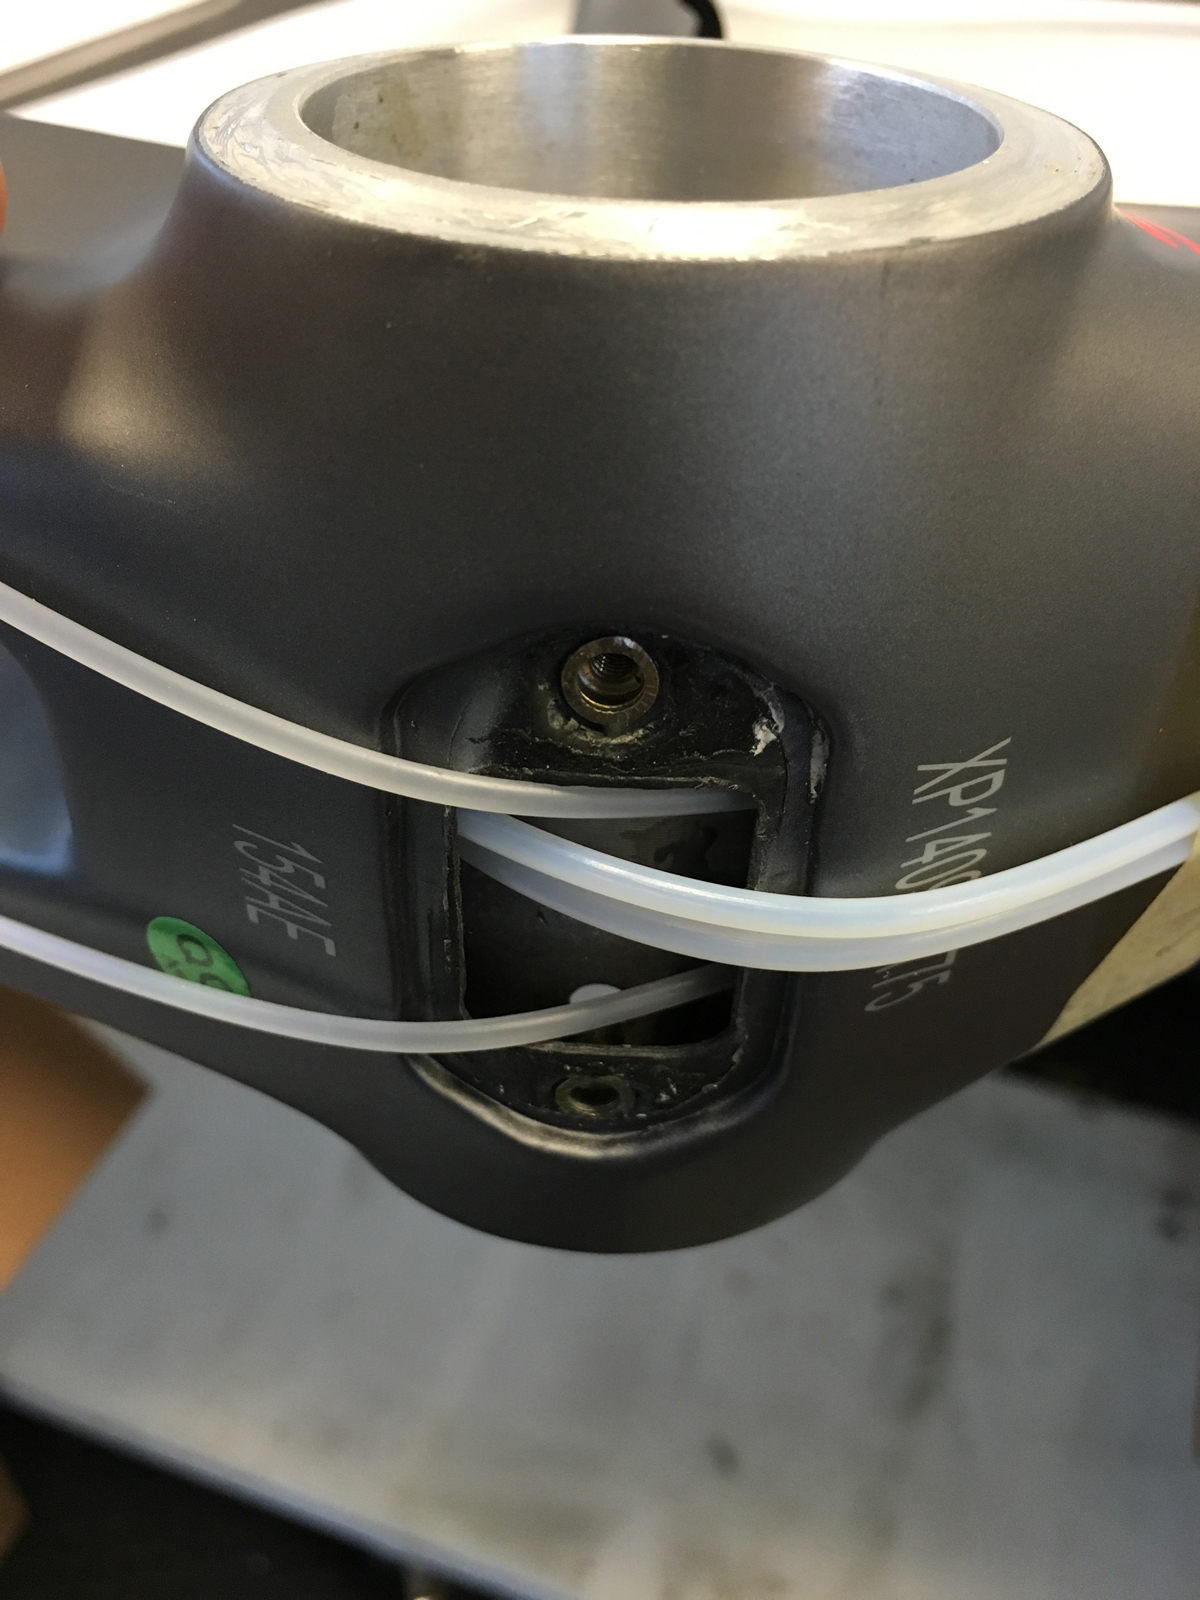
The open tube style can be of two sub types: full housing or interrupted housing. A frame with open tube that runs full housing has an opening into the head tube or down tube. The rear derailleur cable then passes through the bottom bracket and into the drive side chainstay to exit near the rear derailleur. The front derailleur housing usually stops inside or under the bottom bracket. The interrupted type has a housing stop near the head tube and the rear derailleur, with a cable guide under the bottom bracket. This guide may be under a cover plate.
Now, before we begin, it’s time to make a game plan. What cables are we going thread first? Do we need access inside the bottom bracket shell? How long will our cable housing be? Does the right shifter cable go on the right side or the left? These questions are important to answer because, for example, some frames require access inside the bottom bracket in order to run cables. This little detail throws off my standard procedure because I like to install the bottom bracket and cranks first, before the fork, stem, handlebars and, importantly, shifters and brakes. Because of this, I have had to come up with some different ways to do things.
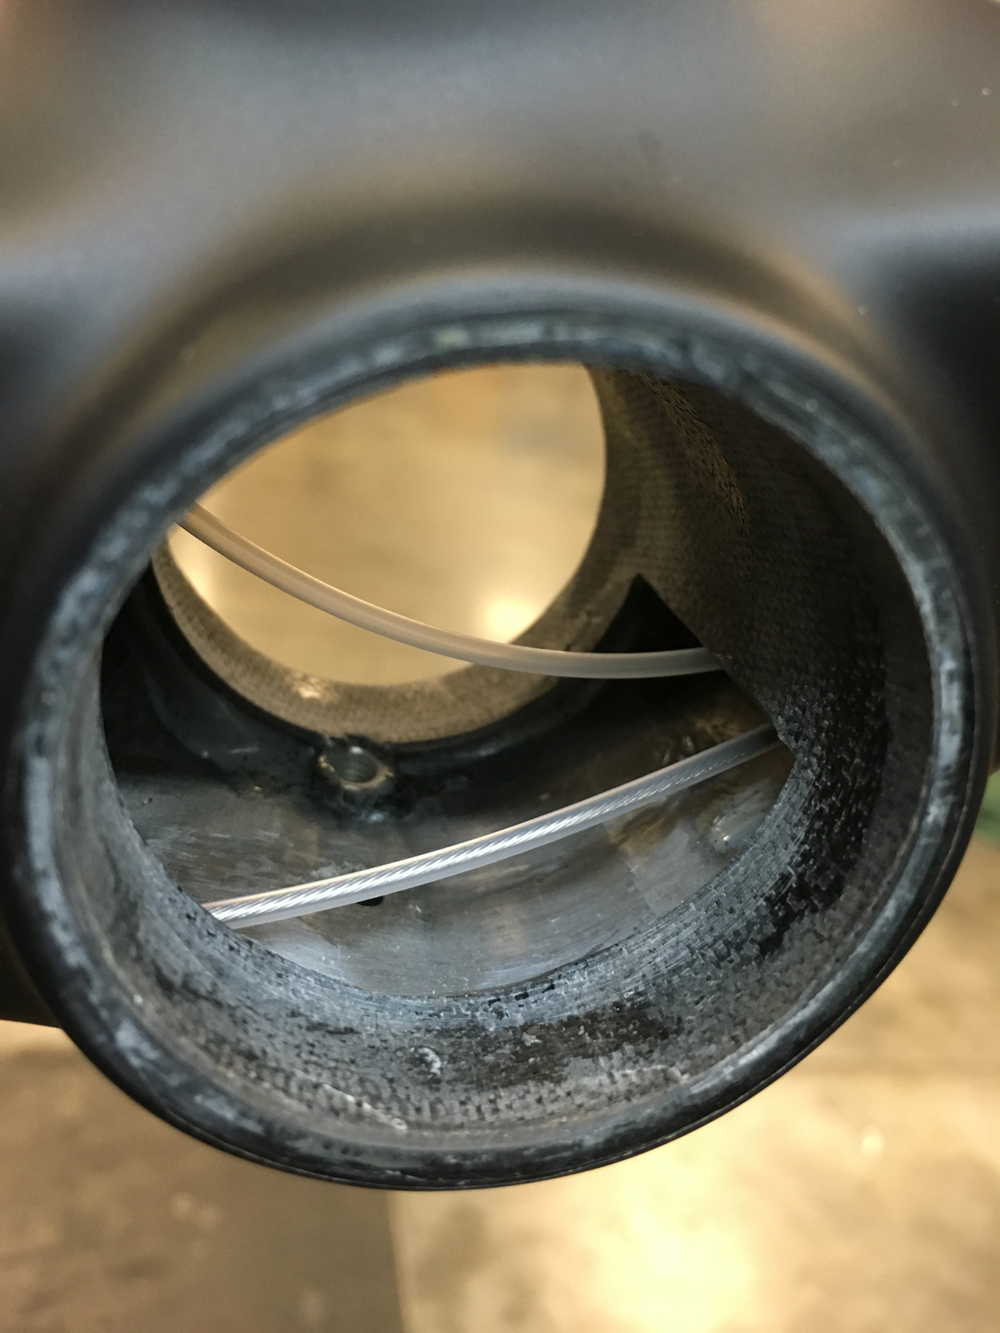
New constructions are usually the easiest. If it is open tube with full housing, I like to run the housings first, and leave them long. It may be necessary to run a blank cable first to act as a guide for the cable housing. Then install the steering, the controls and derailleurs in order to hold that all in place. I’ve had more than one front derailleur slip out of its stop inside the bottom bracket after the bottom bracket has been installed. If the frame uses interrupted housings, I like to measure and cut the housing first. Next a cable with a liner is installed all the way through. Then pull the cable out. Now the liner can be used as a guide for the final cable installation.
For replacing cables on a fully constructed bike, in most cases a liner can be placed on the end of a cable, and thread it in as the old cable is pulled out. To replace a rear derailleur cable with interrupted housing, first remove the short piece of housing between the derailleur and the frame. Install a liner on the end, and slowly pull the cable out while at the same time inserting the liner. Be careful around the bottom bracket guide, the liner can get hung up here and without knowing it, the cable may get pulled out of the liner leaving you high and dry without a guide. The procedure for replacing full housing is dependant on the frame. Mountain bikes generally do not run the cable housing through the bottom bracket. In these cases it’s easy enough to pull out the old inner wire, install a fresh wire as a guide, and then remove the old housing, leaving the fresh wire in the frame to use as a goude. If, however, you have a frame, mountain or road, that runs the cable housing through the bottom bracket, save yourself some frustration and remove the bottom bracket first.
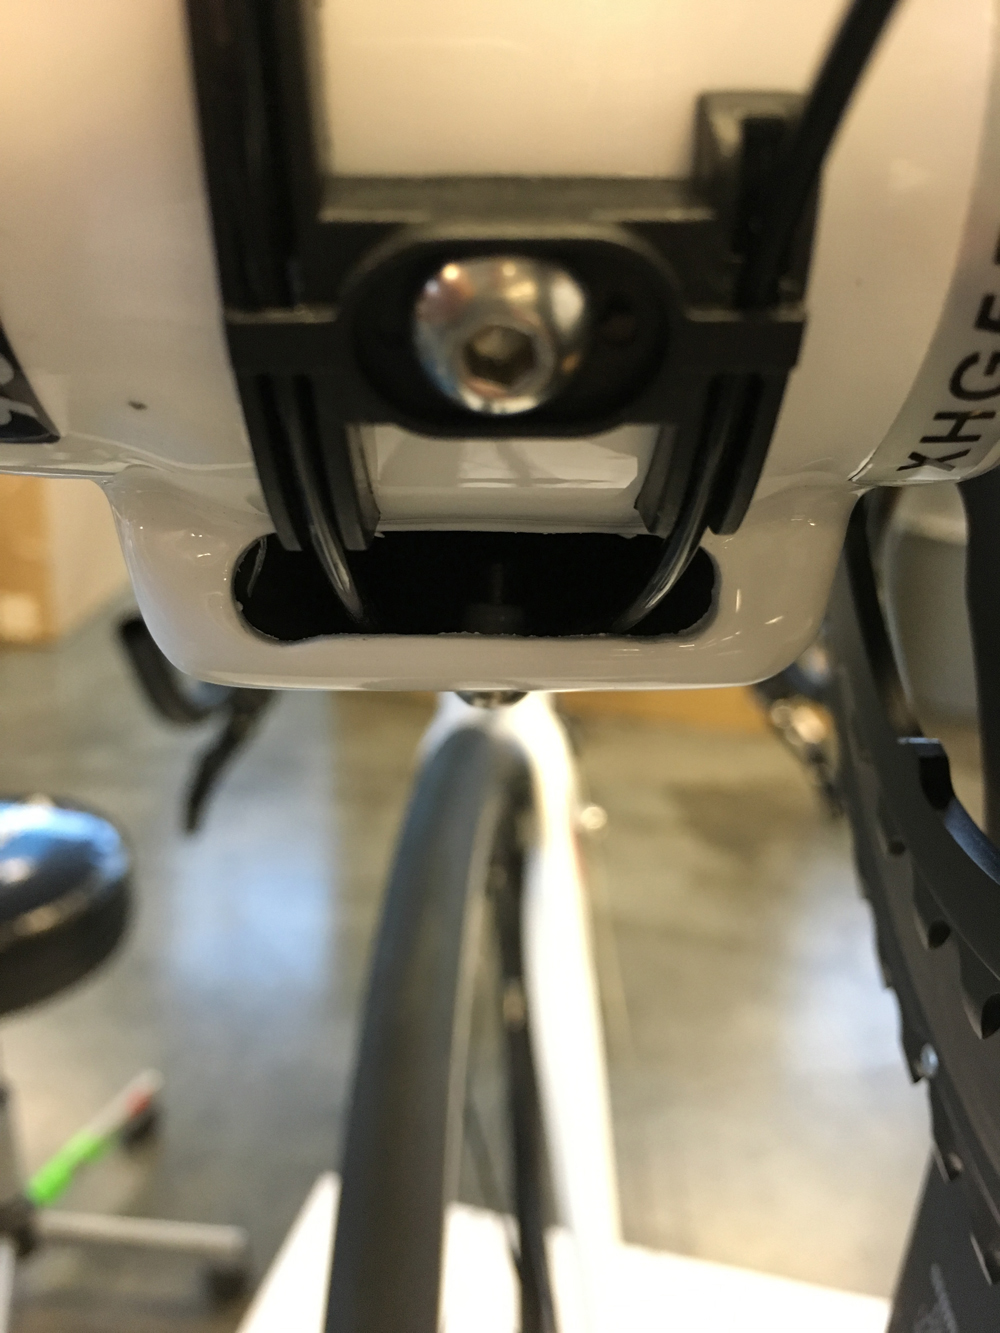
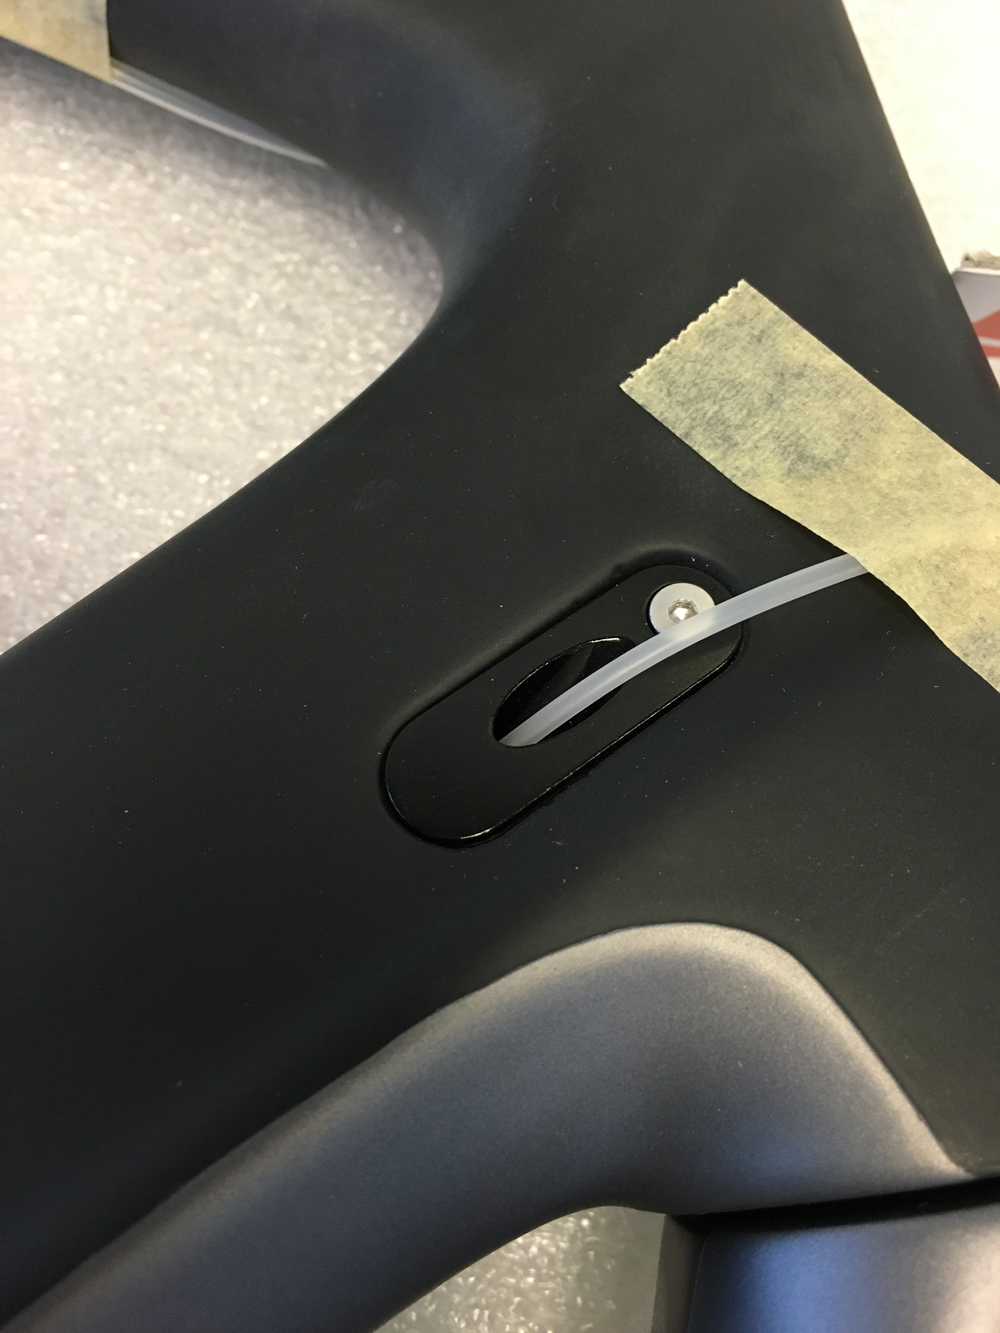
If you are still reading at this point, this where patience becomes important. Even though up to this point it may sound easy, getting cables threaded through a frame can be anything but. If a frame has removable ports or stops, removing them can make it much easier to shine the light in, and fish around with whatever hook or magnet tool you may have. Frame ports can be much easier than say, rear derailleur openings because the ports and the tube are larger making it easier to work around inside. The hook of a spoke works great for pulling a cable or housing out if you can get it close to the hole. A magnet is really handy here because it can grab the cable through the tube and can then be maneuvered to the opening. If the port is large enough just stick the magnet inside the frame.
The other reason for patience is performing this task the first time. And then the second. How many times does a home mechanic replace his/her cables? Once a year? Twice? It takes me three or four times to get a system down, and I might build five of the same bike in one week. All that being said, replacing internal cables is not impossible nor hateful necessarily. With the right tools, a plan and a strong do it yourself attitude this maintenance task can be nearly as enjoyable as any other.
Got a bike question? Email Tom at [email protected].
Photos: