By Tom Jow — Build it, or take it apart, which comes first? As a kid I’m sure I had build it toys such as Lego or Lincoln Logs but what I remember is taking apart an old alarm clock. You know the type; large face and two bells on top with a hammer in between. One day it stopped working, so I took it apart. There were no instructions, no schematics, no YouTube. I just tore into it. I had never taken a clock, much less anything else apart. A few years later I was taking bicycles apart. They didn’t have to be broken, sometimes I just wanted to know how it worked. Nowadays, I take apart broken stuff all the time. Back then I didn’t know what I was doing, I just grabbed some wrenches and started taking stuff apart. Now I often do research before I take something apart. Over the years I have developed a strategy for taking things apart.
Where to Start, Research
If I have never taken something apart, the first place I look is the manufacturer website. Under the “support” tab, there will usually be a link to instructions and service documents.

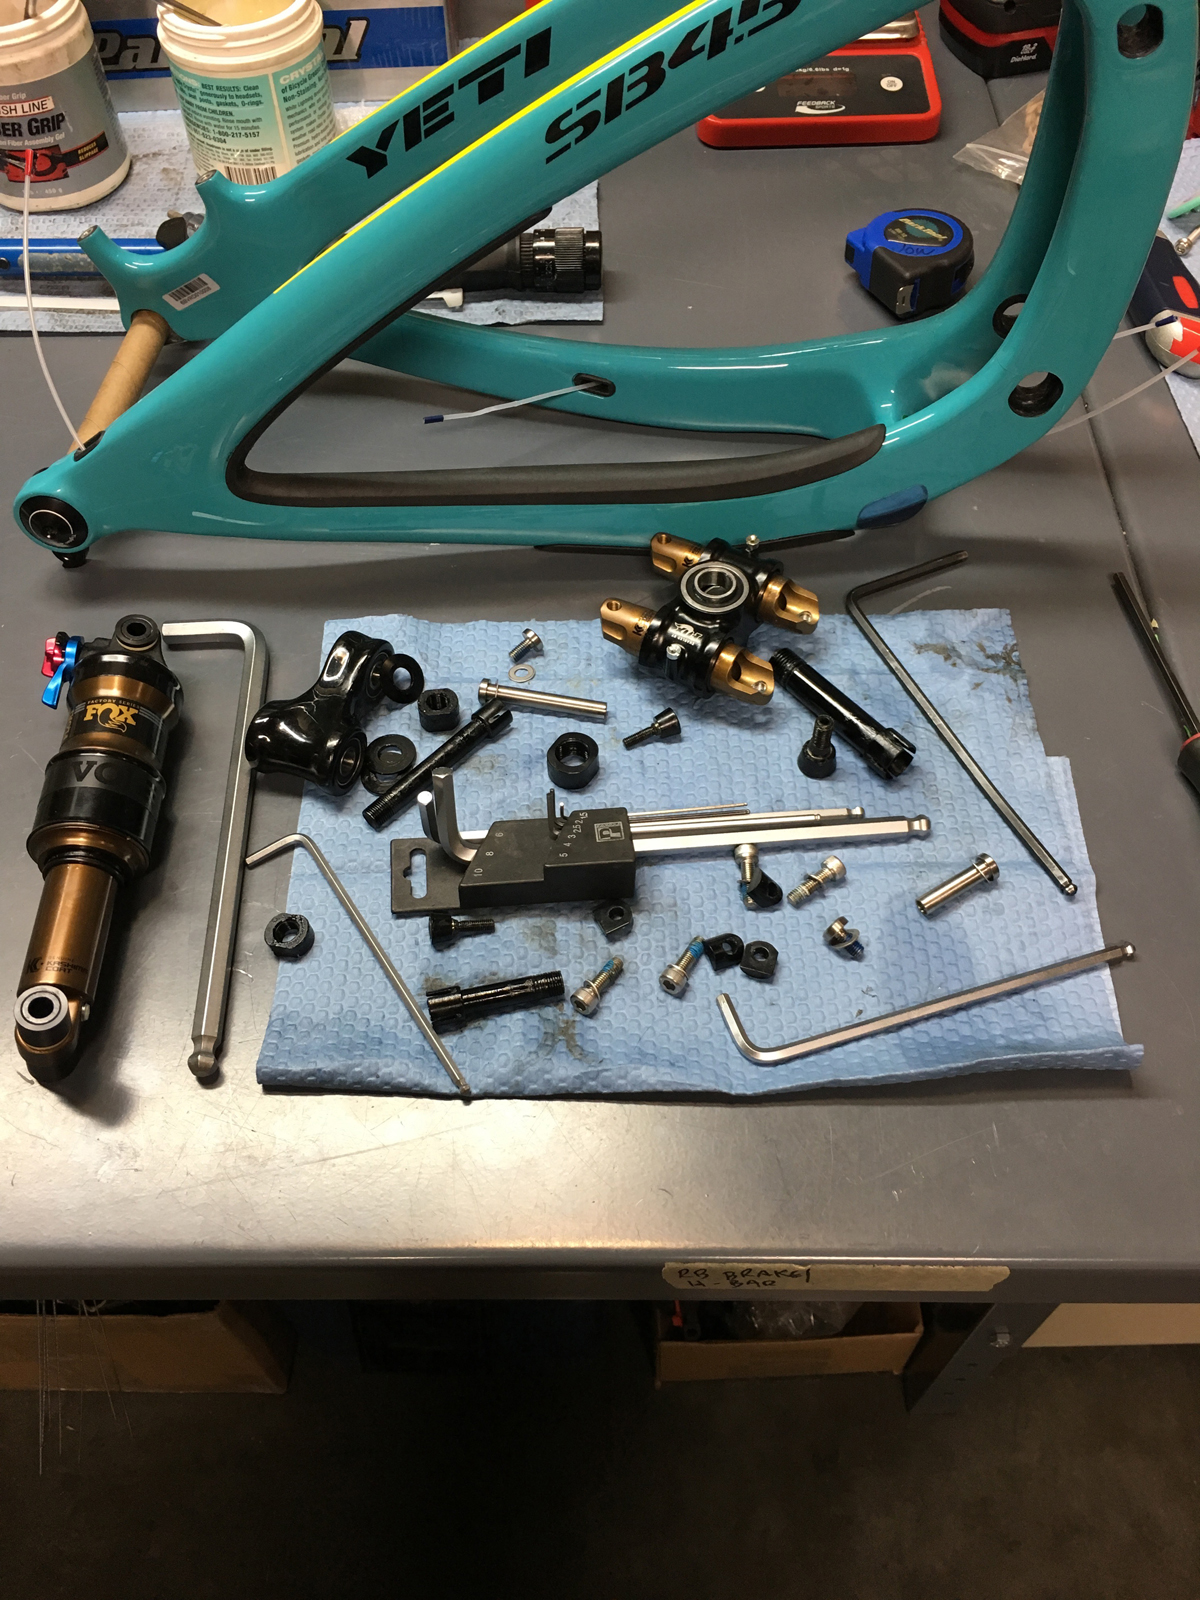
Instructions are helpful, but often they only show how to put something together, not apart. The next thing I look for is a maintenance document or parts schematic. The maintenance document would have the necessary instructions of how to service the component in question. A detailed parts schematic is useful because it gives an overall picture of where everything is and how it all fits together. It will show if and where there are hidden fasteners, or small parts that may fall out. A great example of service instructions and schematic is the Yeti Cycles Owners Manuals. Their instructions are very detailed and easy to follow with a very detailed parts schematic. Another great resource is YouTube. Many manufacturers publish detailed videos demonstrating the proper service procedure. Whenever possible, always use the manufacturers video. However, if the manufacturer hasn’t published one, someone else probably has.
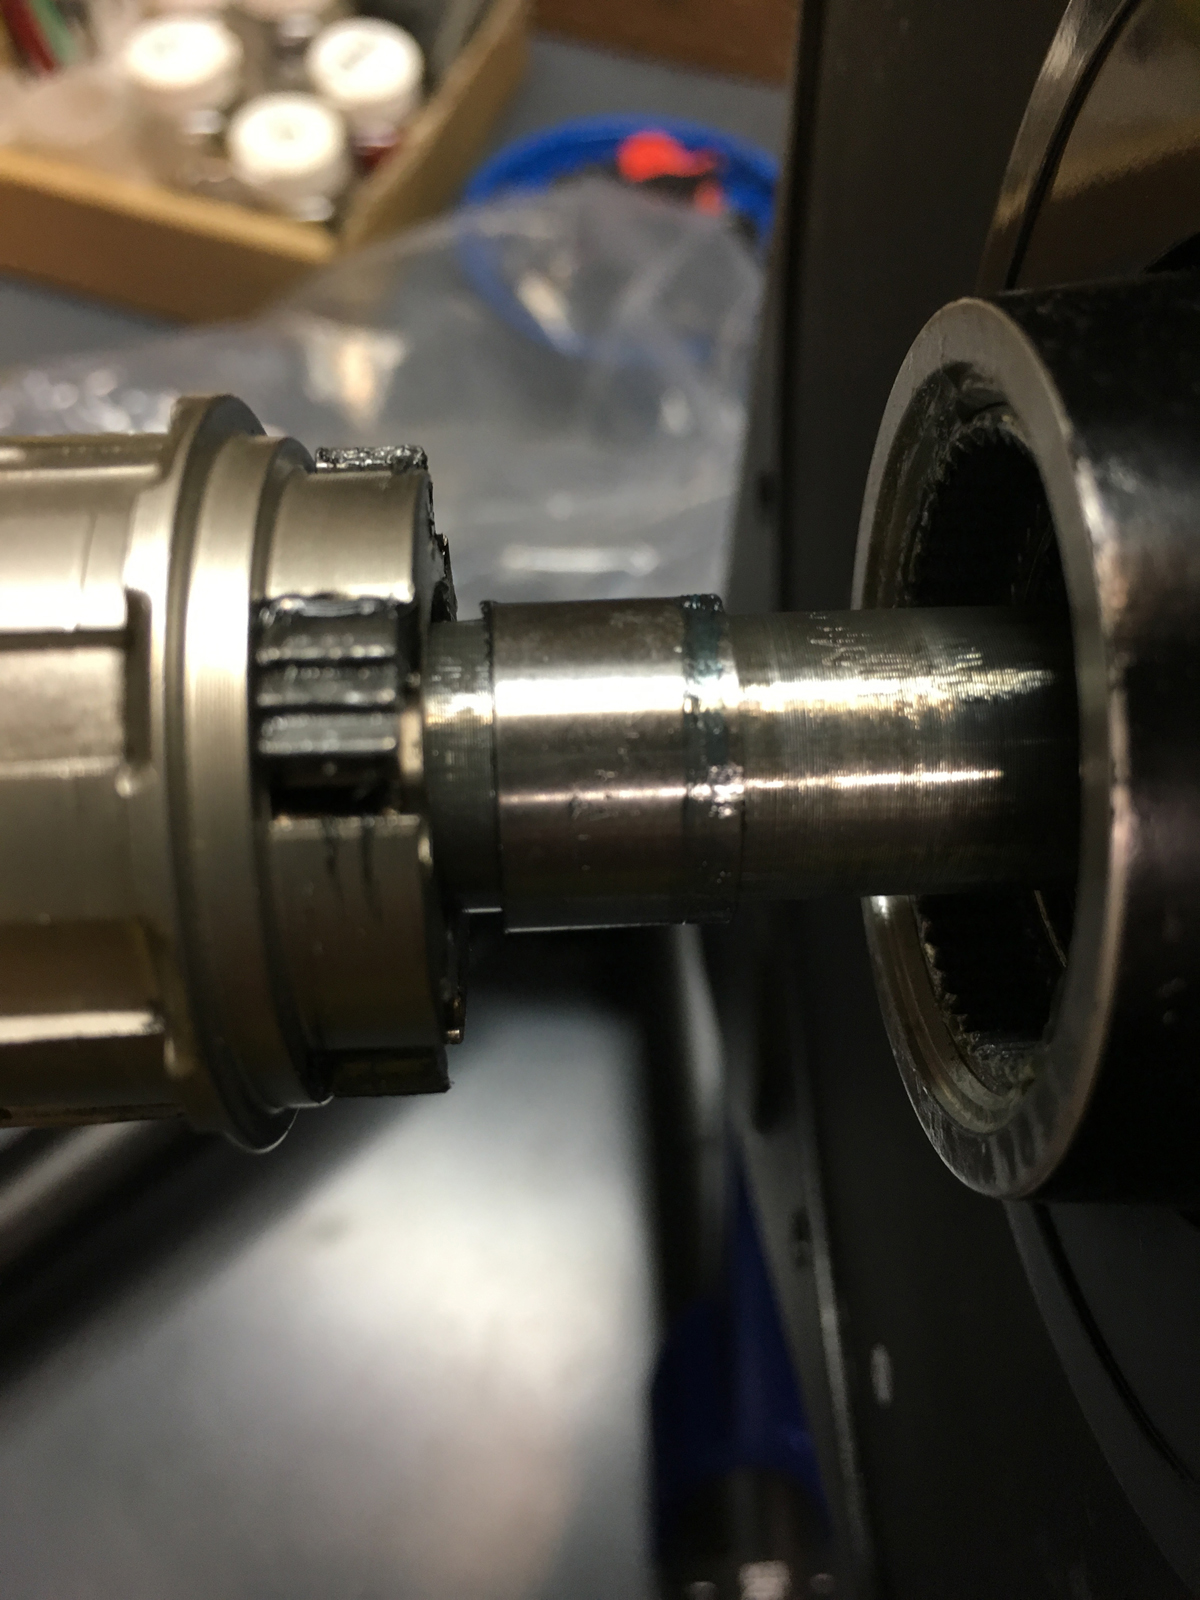
Photo by Tom Jow
Be organized
Before you really get into it, prepare your work space. Even though it doesn’t always happen, I like to start with a clean workbench. Lay out a couple of clean rags. Place the tools needed on one. Reserve the other for parts removed. Also have a couple of rags ready for holding or wiping dirty things.
It is a good idea to read through the instructions or watch the video before starting the disassembly. This reduces the number of surprises you will encounter during the job. Previewing the procedure also helps prevent being confused while holding a dirty, greasy, half-disassembled bike component. Replay and review any part of the procedure that doesn’t make sense before you start.
Getting into it
A couple things before getting started. One, threaded fasteners are removed by turning them counter-clockwise. A bicycle has two standard exceptions: the left pedal and the drive side cup of an english bottom bracket. These two components use a left hand thread, meaning they are removed by turning clockwise. Two, if the fasteners have been removed and the component will not come apart, resist using a hammer unless specifically instructed to do so. Review the instructions and schematic. When disassembling something for the first time it is easy to overlook things.
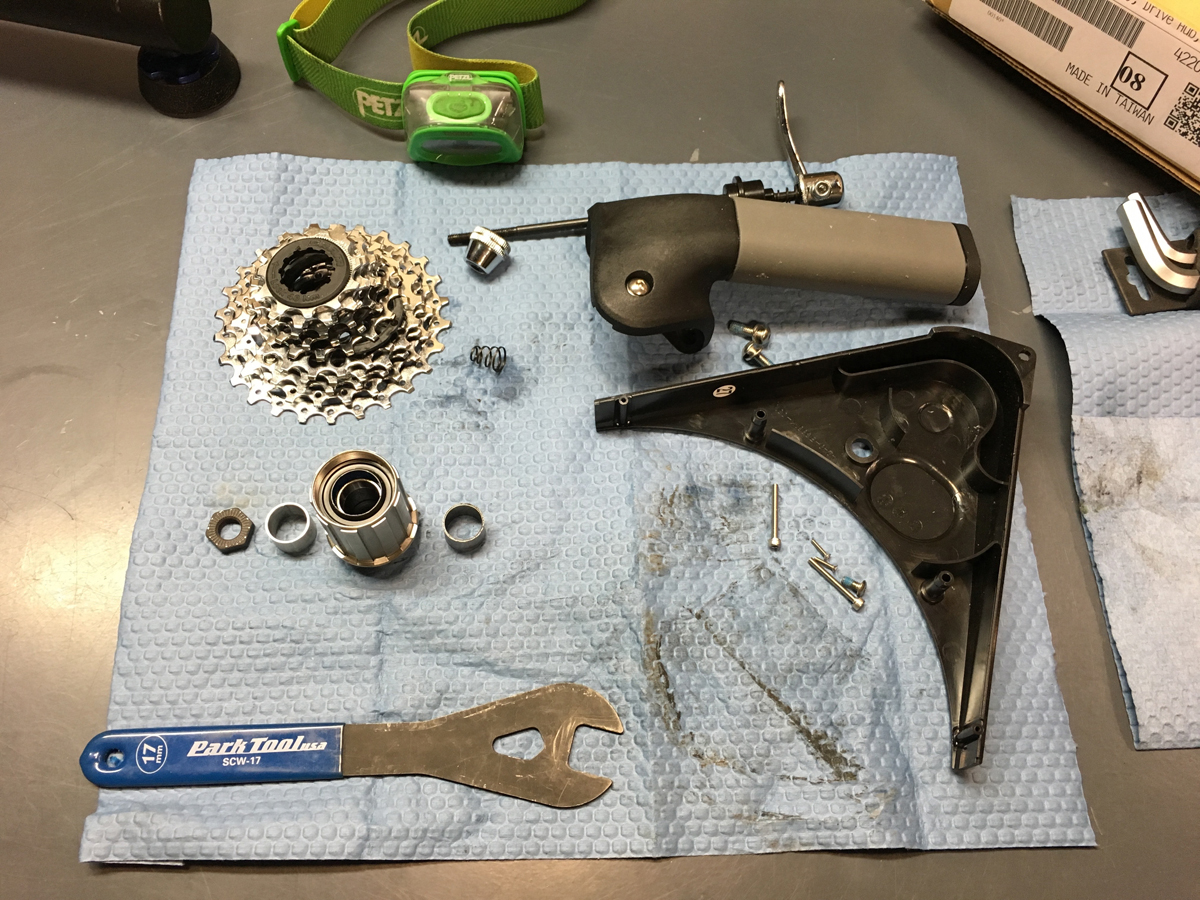
Now go to step one and get started. Follow the instructions step by step. This is my “do as I say, not as I do” moment. A lot of people don’t like to use instructions (read: men) but I’ll tell you, it makes things a whole lot easier. As things come apart, a good way to remember where parts go is to lay them out in order as they are removed. This strategy also makes it easy to see and remember which parts have been inspected and cleaned.
Putting it back together
Once the component parts have been cleaned, inspected and replaced as necessary, carefully work backwards and/or follow the instructions for reassembly. This includes using Loctite or grease on fastener threads as instructed by the manufacturer. Also use a torque wrench where specified (for more info on torque wrenches see Mechanics Corner, April 2017).
That wasn’t so bad, was it? Sure, easy for me to say, I’ve been working on bicycles for decades. Keep in mind however, that bicycle manufacturers are introducing new frames and components every year. In addition, I am a do-it-yoursefler. I do handyman jobs around the house such as plumbing, appliance repair, light electrical work. In order to get all these things done, I employ the same strategy as I have for bicycle repair. Research, documentation, instructions, organization, completion. Oh, did I say patience? Lots of patience.