By Tom Jow — Earlier this year I finally gave up my old road bike. There was nothing wrong with it; top of the line Shimano Dura Ace and a custom steel frame built 25 years ago. I just wasn’t using it. Of course, shortly after it was gone, I started wanting a bike to ride on the road (or let’s just say “not steep trails”). Being one to suffer from peer pressure and industry trends I found myself replacing my road bike with a “gravel bike”. A really nice one with hydraulic disc brakes and tubeless tires. For me it is an easy choice. Who doesn’t want stronger brakes and less flats? However, for those considering disc brakes and tubeless for the first time, the idea can be a little intimidating. Well, I’m here to tell you there is nothing to be afraid of.
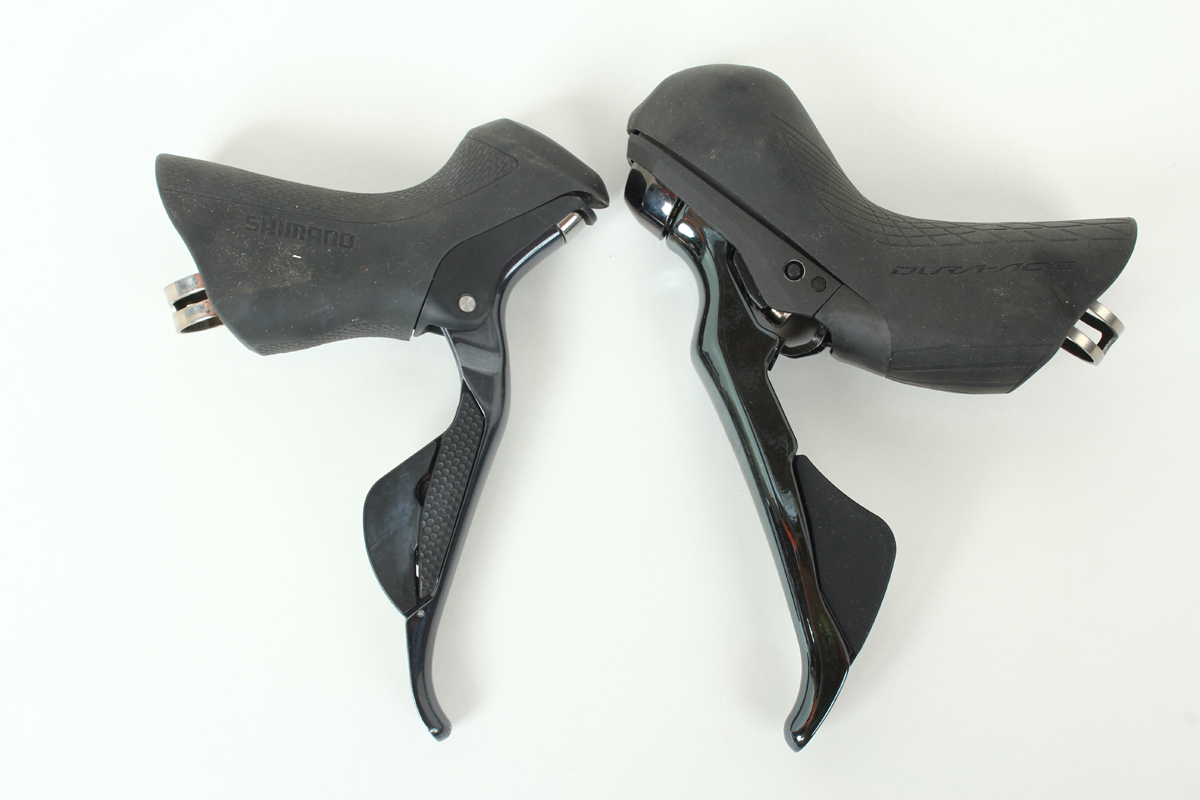
About ten years ago SRAM introduced hydraulic brakes for road bikes to the public. Mountain bikes have been using the technology for longer than that. The design is pretty simple; each brake consists of a lever, reservoir, line, caliper and rotor. The reservoir, which contains hydraulic fluid, is built into the lever. When actuating the lever, the fluid is forced through a line to the caliper. Contained inside the caliper are small pistons which under pressure press the brake pads against the steel brake rotors.

Hydraulic brakes are much more powerful than cable brakes. One reason they are so powerful is because the fluid does not compress. Therefore, unlike cable brakes, all the force exerted on the lever is also exerted upon the braking surface. Also, with a selection of brake pad compounds and rotor sizes braking response can be tuned to individual rider needs.
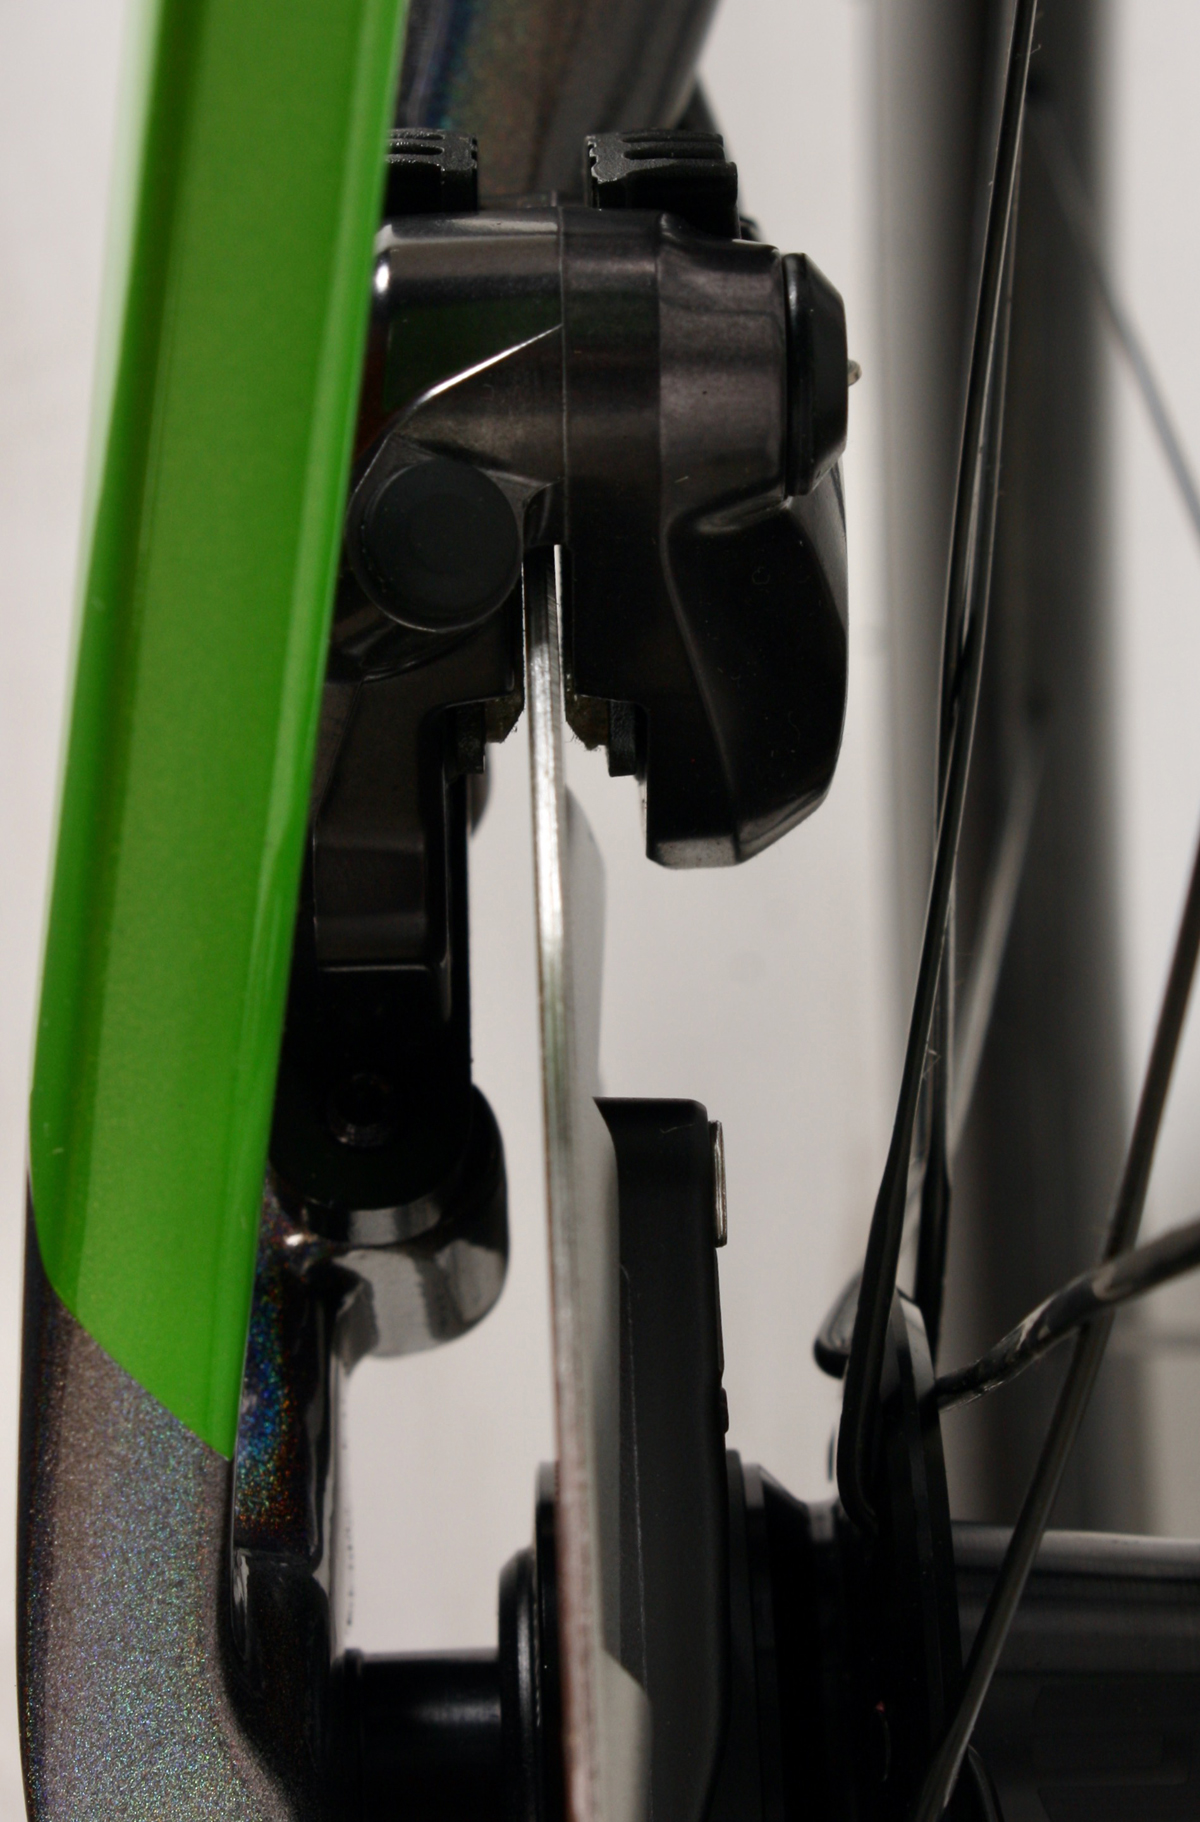
There are, however, a couple minor drawbacks to the system. Because there is a very small amount of clearance between the rotor and brake pads there can be an occasional annoying “ting ting ting” sound of the rotor touching the brake pads while riding. In my experience some brakes are very easy to align while others are not. One factor in brake alignment is rotor variability. Few rotors are perfectly true. Some rotors will change shape under the heat of braking, therefore making a little noise until they cool down and return to their original shape. I have found few brakes that could not be aligned well.
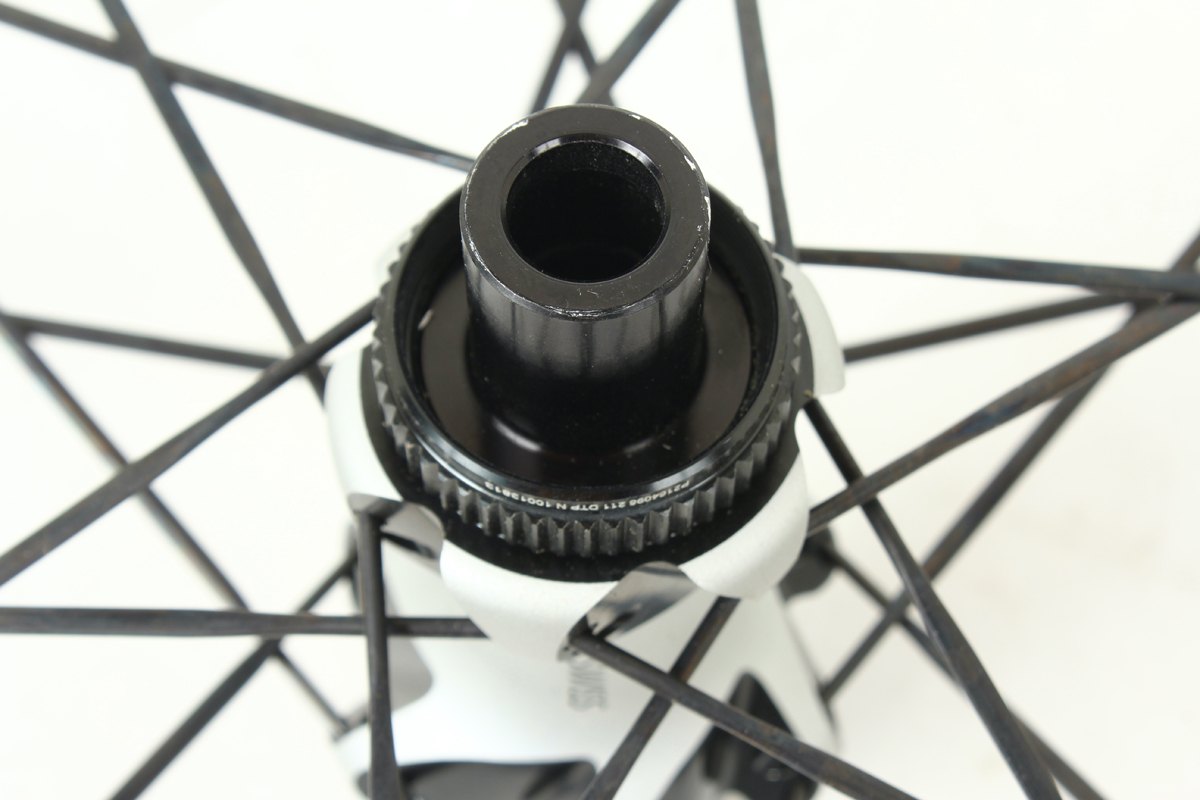
The other drawback to hydraulic brakes is the fluid. Not a drawback really, but it may force some riders away from doing their own brake maintenance. Requiring replacement every 1-2 years depending on the brand, the task requires special tools, practice (some individual brakes still befuddle me), and can be messy. “Messy” is not what we want around brake pads and rotors. Even a small drop of spilled brake fluid can render a set of brake pads useless if the surface is contaminated.
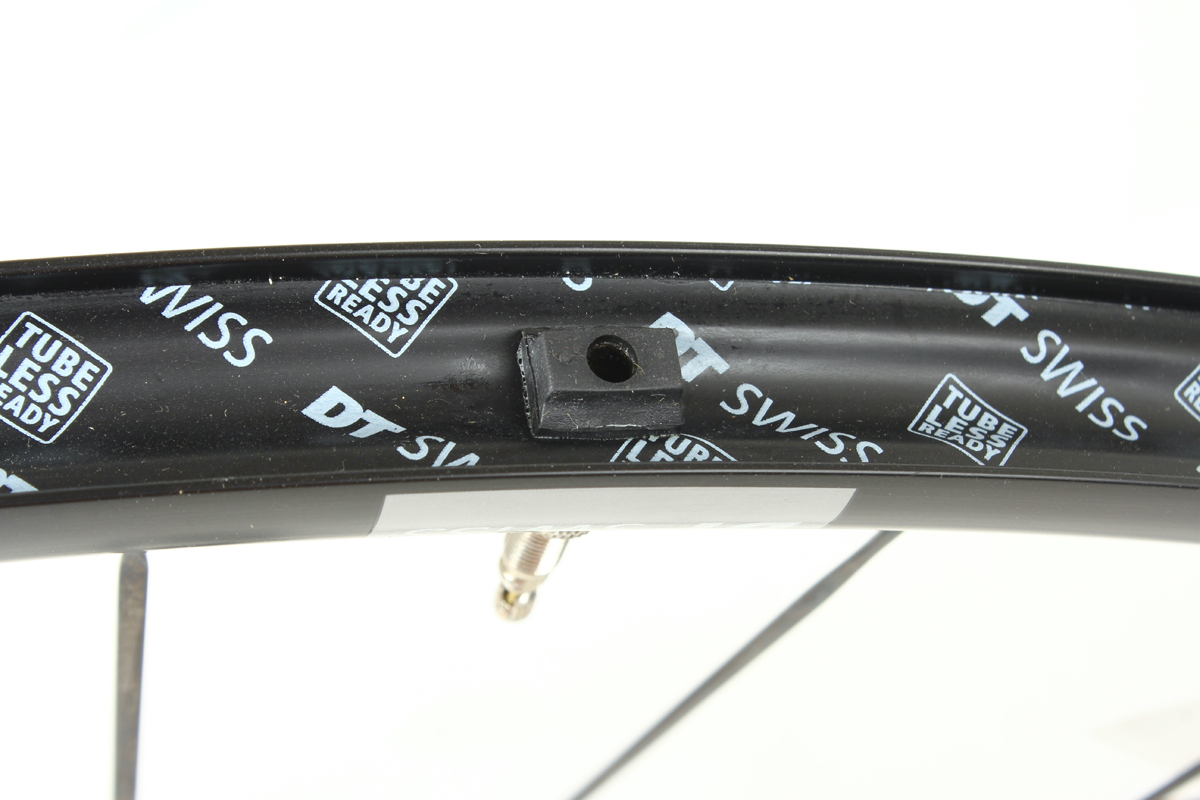
Tubeless tires are not exactly the easiest for home mechanics either. Based on the use of liquid sealant, installation of the tire and sealant can be very messy. It’s amazing how big a mess a mere two ounces of liquid in a road tire can make. Also, matching tire and rim combinations can be finicky. Some combinations mount up easily, some are nearly impossible. In general, wider tires are easier to install. Once mounted, a high volume, high pressure burst of air is needed to lock the tire beads on the rim. This requires an air compressor or a pump with a built-in burst tank.

While the initial setup can be a challenge, the benefits are worth the work. These benefits include puncture resistance, lower rolling resistance and a more comfortable ride. Manufacturers of the tire sealant claim to be able to close punctures up to three mm in diameter. In my experience goathead thorn punctures are a thing of the past. Larger punctures may require a short pit stop but will often seal with no tools. For larger cuts, a plug can be inserted (see “Tubeless tire puncture” in the Early Summer 2022 issue of Cycling West). As a last resort, riders may need to install a tube, but this is becoming less frequent.
Without an inner tube, the risk of a pinch flat is reduced. For this reason, lower tire pressure can be used. Manufacturer studies have shown that lower tire pressure reduces rolling resistance by allowing the tire to conform and roll over debris and deformations in the road. How much lower you may ask? My normal default tire inflation with a 700 x 25c tire would be about 95-100 psi. With the Goodyear F1 road tire, the Goodyear tire pressure calculator recommends a starting point of 75 psi front and 79 psi rear, quite a bit lower than “normal”. In a real-world example, I use 40 psi in my 700 x 33c gravel tires, and they do not feel slow at all. In addition, they are very comfortable on some of the rough industrial roads I ride on. Instead of getting bounced around on road cracks and shallow potholes the tires absorb a large portion of the force.
Keep in mind that no system is perfect for every rider. And despite their obvious advantages, years ago I would not have confidently recommended disc brakes or tubeless to all cyclists. At the time, I felt the finicky nature and perceived complexity of both systems outweighed the increased brake performance and puncture resistance. I no longer feel that way. With a road-specific mount, smaller & lighter caliper, and years of incremental changes, road disc brakes have greatly improved. Road and gravel tubeless systems have also benefitted from improved rim design and a greater selection of both rims and tires. Now, as evidenced by their use on a greater range of bikes, hydraulic brakes and tubeless tires have reached a high level of performance and reliability for all cyclists. There is no longer anything to be afraid of.
Good article and advice! As a long time roadie who switched to a gravel grinder both innovations are huge advances.
It’s easy to get discouraged when dealing with tubeless but after 6 years of setting up lots of tires on various setups there are definitely some tricks. I’ve gotten to the point that failure on install isn’t worth the mess so I just use the tube method….install it with a tube, then carefully free one side of the tire or bead, the other side/bead should stay seated. Remove tube, add a valve and sealant and viola, it will seat at least 50% easier. While it may take slightly longer, I’ve never had a failure with this method.
The third game changer for me via recent tech is Garmin Radar – don’t leave home without it! If ANYTHING is coming up behind you, you will know about it. It’s useful on both the road and bike trails… for example if an ebike is coming up from behind, it’s good to be aware (or beware!) in this day of fast ebikes combined with low skill level riders.
Happy Trails!