By Tom Jow — Every few years or so there is a bicycle component that changes the way people ride. Take front suspension for example. Before that mountain biking on rough pretty much rattled your fillings out. Then came rear suspension. Then disc brakes. Do you see what I’m getting at? Technology can make our riding experience much more enjoyable. The most recent “gotta have it” component is the remotely adjustable, or dropper, seatpost (I know, it’s been more than a few years). If you haven’t seen one, it’s a seatpost that, with the press of a button, can be adjusted to allow a rider to adjust their seat height for the terrain. It allows for using full height for climbing and flat ground or low and out of the way for downhill and technical terrain. Sound too good to be true? Yes. Do you need one? Very likely. Why do I need one and how do I purchase the correct one?
Believe it or not, the idea of lowering the seatpost for going downhill is not a new idea. This is one reason mountain bikes were always equipped with a quick release seatpost clamp. It allowed the rider to be able to lower the seat for downhill and technical terrain without fishing around for a tool. By lowering the seat, the rider is able to lower their center of gravity for maximum traction and stability at downhill speeds. Having the seat lower also provides room for the rider to adjust their position in technical terrain. When jumping and riding steep drops the seat is of the way and the rider can move around as much as is necessary. This added stability and room to move provides additional control and confidence for all riders in all terrain.
Choosing the Right Post
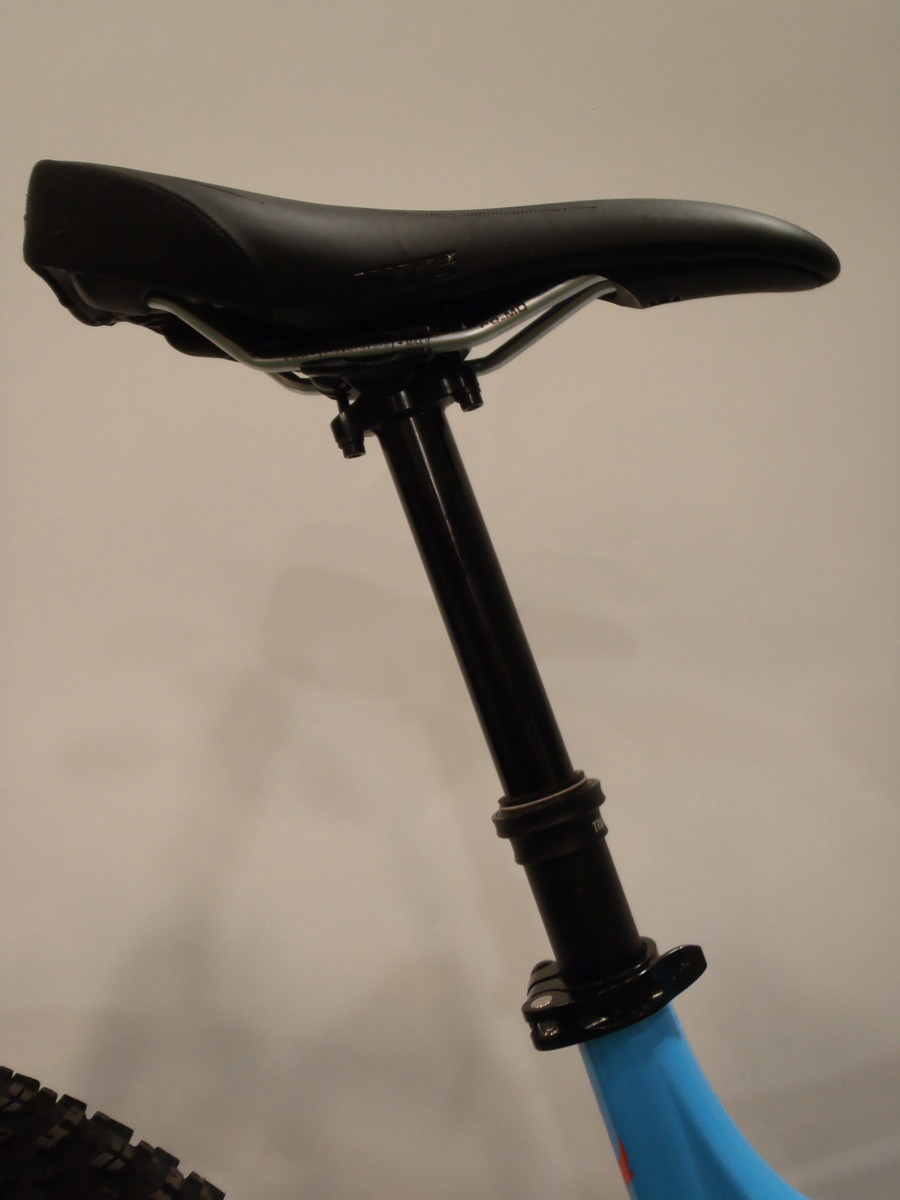
The first step in purchasing the correct seatpost is determining the diameter and length. Almost every seatpost has the diameter and length labeled near the bottom of the shaft. The most common sizes for mountain bike are 30.9 and 31.6 millimeters. Common lengths are 350 and 400 millimeters, measured from the bottom of the shaft to the seat clamp. The dropper seatpost has a third measurement, the drop or travel. Travel length varies from 100 to 150 millimeters or more. The longer the travel, the longer the seatpost. The ideal seatpost length has very little of the main seatpost extending out of the frame at the maximum extension when the seat height is at the proper level for climbing.
Finding the right length seatpost can be tricky. Small and medium size frames may not have enough seat tube to accommodate every seatpost. If the frame has a curve in the seat tube or a suspension pivot attached it could interfere with inserting the seatpost far enough to obtain the proper seat height. A good tool to measure this is the old seatpost. Gently slide the seatpost in the frame as far as it will go. Measure up from the seat tube collar 30mm and place a piece of tape there. Remove the post and measure the distance from the bottom of the post. Now let’s pick a seatpost. For example a 335mm dropper seatpost has 100mm of travel. There is a 30mm collar at the top of the main shaft. Therefore, there is 130mm outside the frame and approximately 205mm inside. The result? At full extension there must be less than 205mm required to be inside the frame. A 400mm post with 125mm travel needs approximately 250mm of space in the seat tube.
In addition to size, dropper seatposts come with the option of external or internal (stealth) cable routing. The first dropper posts had external routing because there were no frames with internal routing. Now, nearly every mountain bike frame has internal routing for the seatpost. The only reason to purchase a post with external routing is if the frame does not have internal routing, which is probably more than 4 years old.

The seatpost is operated with a handlebar mounted remote lever. This remote opens and closes a valve which allows the rider to compress and extend the seatpost. Most dropper posts only have one option for placement of the remote. This could be right side, left side, under bar or over bar. If possible, it would be a good idea to test out a variety of remote styles to see what feels best. When making this decision, keep in mind how many shifters are on the bike. If it’s a 1x system, remote location is a no brainer. It’s on the left. On a 2x system, no matter if it’s right or left it must be over bar.
Installation and Maintenance
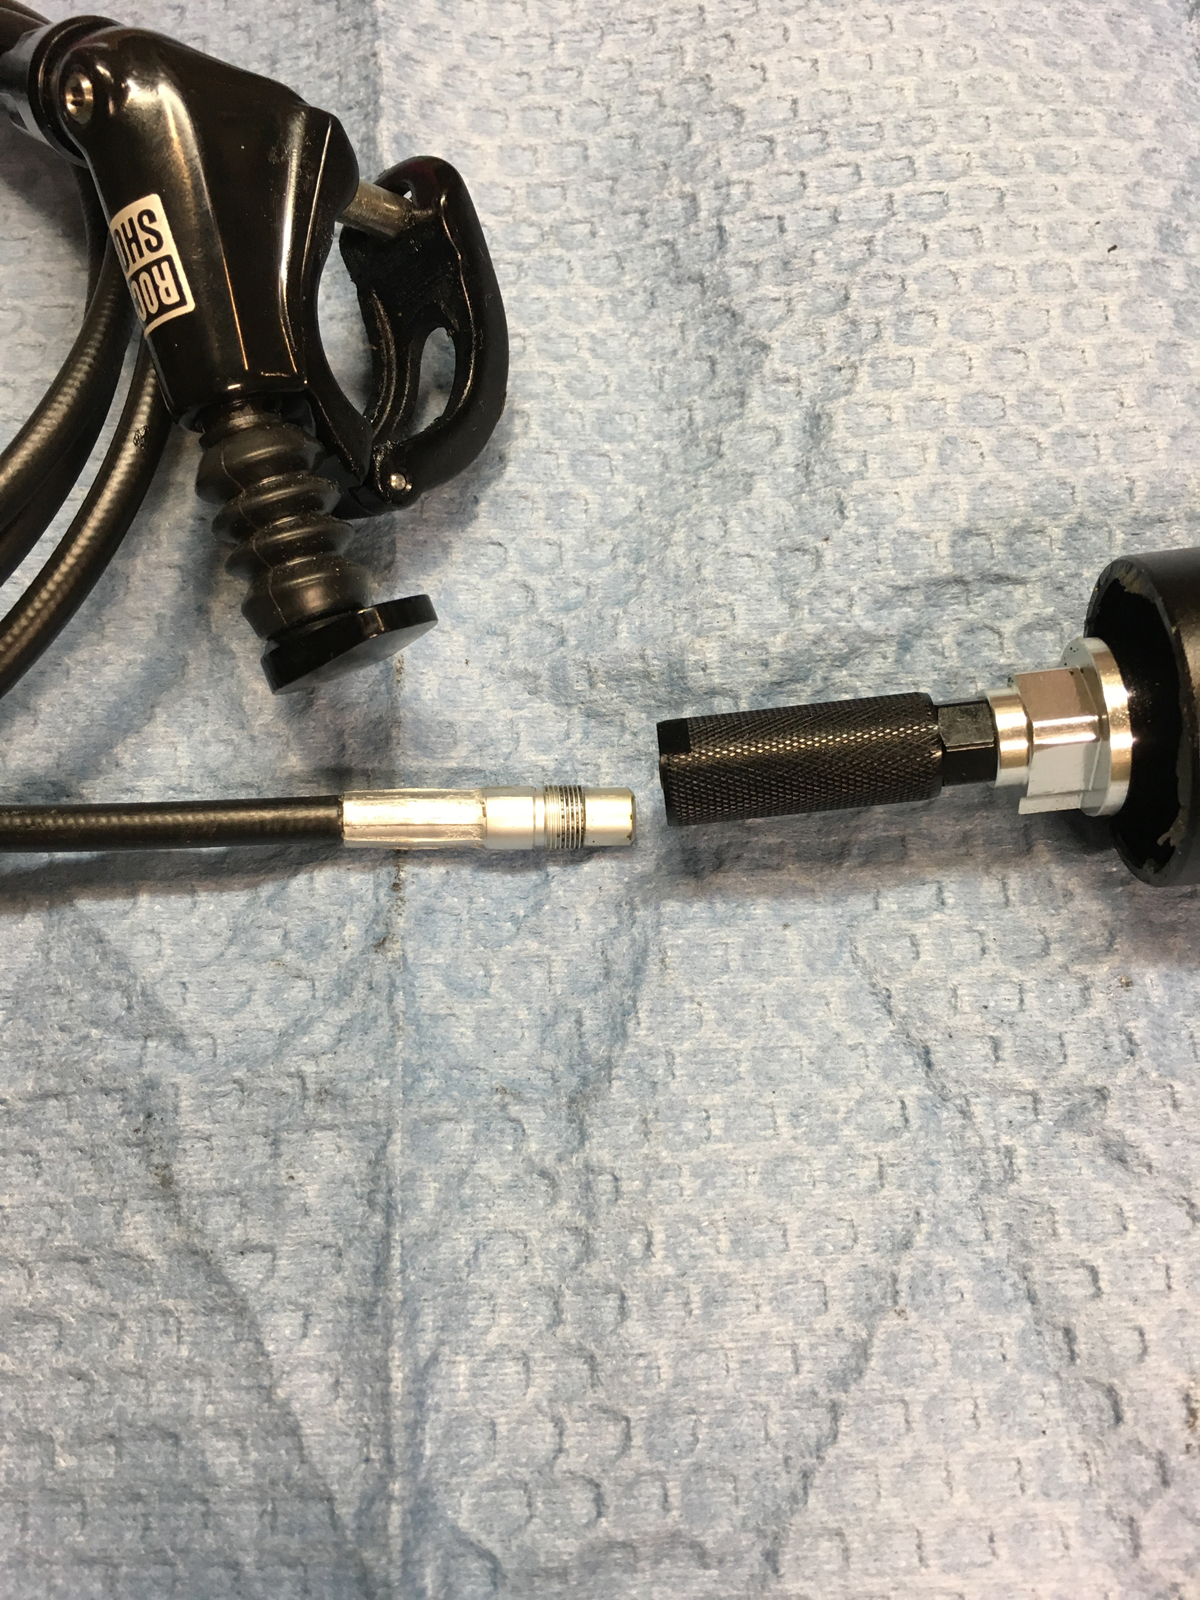
Once a seatpost is purchased please follow this advice: read the instructions. Every brand has a detailed method for measuring and installing the cable housing or line. Also, each brand has specific way that the cable is required to be adjusted in order for the post to work properly. In most cases, a cable operated dropper requires 1-2mm of movement in the remote lever. The RockShox Reverb is unique because it is hydraulically actuated. This allows the benefit of an adjustment on the remote for the speed at which the post drops and extends. It is, however, not uncommon for this adjustment to be set to full slow, effectively locking the post in position.
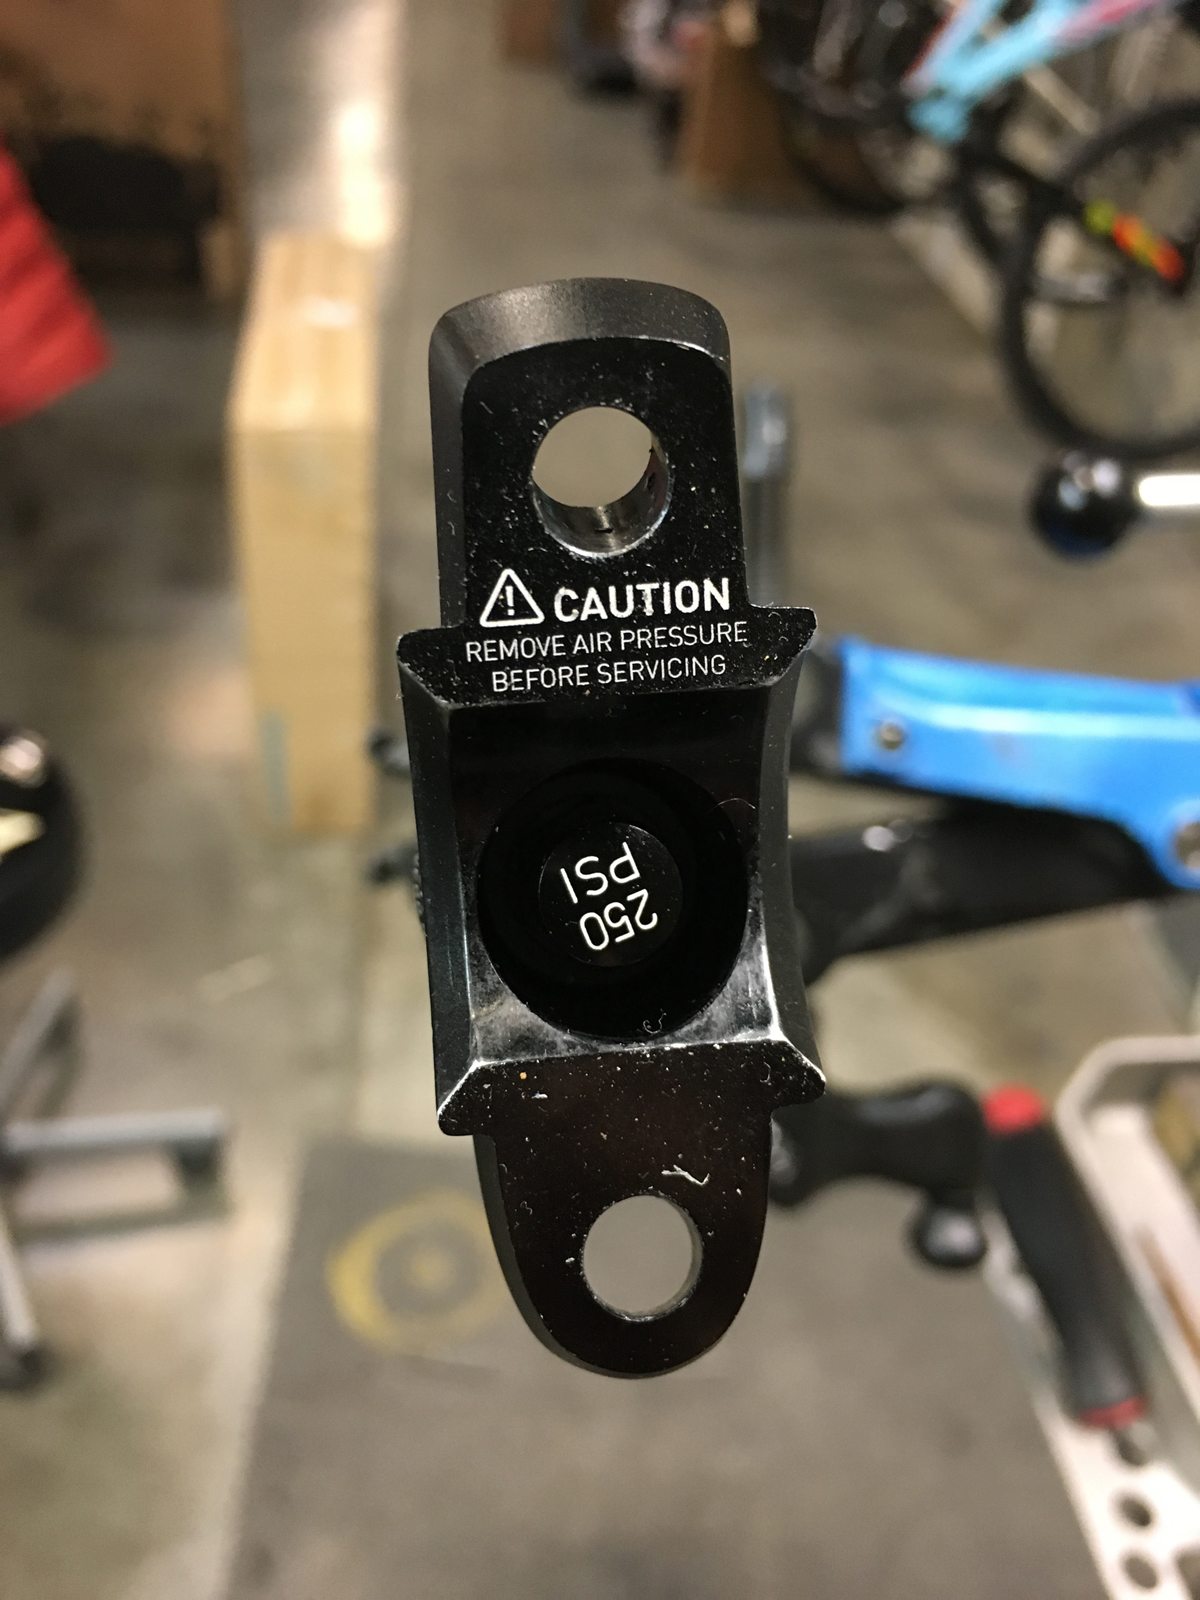
There are a couple things to remember to keep your dropper seatpost working properly. One thing is do not lift the bike by the compressed seatpost. This will risk dislocating the upper shaft seal inside the chamber. The seatpost will then no longer extend fully. Also, as a moving part, the dropper seatpost requires maintenance. Keep the upper shaft clean. Like a suspension fork, there is a seal that can be damaged by dirt. Air pressure is what makes the post extend back to full height. Check it once in awhile and follow the manufacturer’s recommendation for air pressure. In addition to this simple maintenance, most manufacturers recommend a major servicing every 50-60 hours or so. Also remember that because it is a moving part, there will be movement between the two parts. It is not uncommon for there to be 1-2mm of up and down movement of the post. Likewise the upper shaft may wiggle a little bit side to side. If the movement is outside this range, contact the place of purchase or the manufacturer to file a warranty claim. Be aware that a post that has not been serviced according to recommended time tables, the claim for warranty may be denied.
It really seemed unnecessary at first, but having a seatpost that can be adjusted to the for the terrain while riding has been a great idea. It may also seem like a complicated purchase and installation, at least for the do-it-yourselfer. The benefit however is huge. Every rider wants to have fun. For beginner, intermediate and expert, this one component will allow each rider to attack difficult terrain with confidence. Being able to ride with more confidence means more fun. This is why you need one.
Got a bike question? Email Tom at [email protected]