By Jamie Morningstar
The first rule of cycle commuting is: Always be seen. Only slightly less well-known is: Never ride so far to work that you show up with butt sweat marks. Or, if you do, bring a change of pants.
For the purposes of this article, we will focus on Rule 1.
I’m a cycle commuter – you can learn more about my story in the Commuter Column of the March 2014 issue of Cycling Utah. Like most commuters, I’ve done plenty of riding in the dangerous twilight hours after work. I always ride with lights (see Rule 1) but last winter my husband decided that mere button-cell blinky lights would not suffice. I needed something brighter, bolder, and way more stylish.
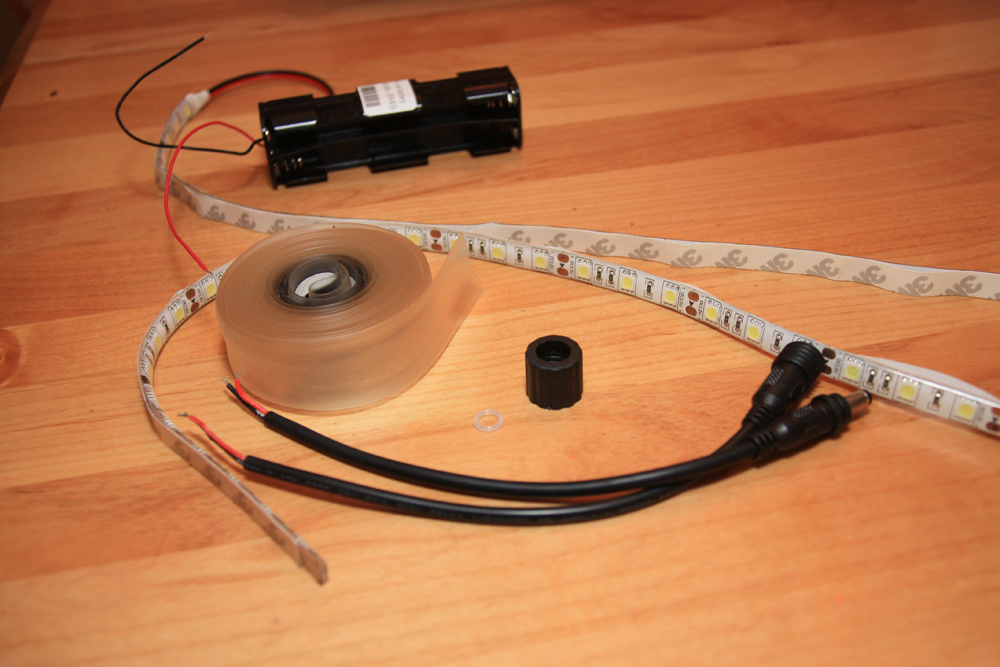
As a result, my Christmas stocking included an LED Bike Handlebar kit from our family’s favorite gizmo supplier, Adafruit (see http://www.adafruit.com/products/933). The kit included 1 meter of LED light strip, a battery pack, and some connectors (Photo 1). My household included one handy husband, one commuter bike, a free afternoon, and an adventuresome spirit. It was go time.
The whole project went off with minimal swearing and ended with a well-lit bike, making it a wildly successful endeavor by the standards of our home. Here’s a quick rundown of our handlebar illumination experience.
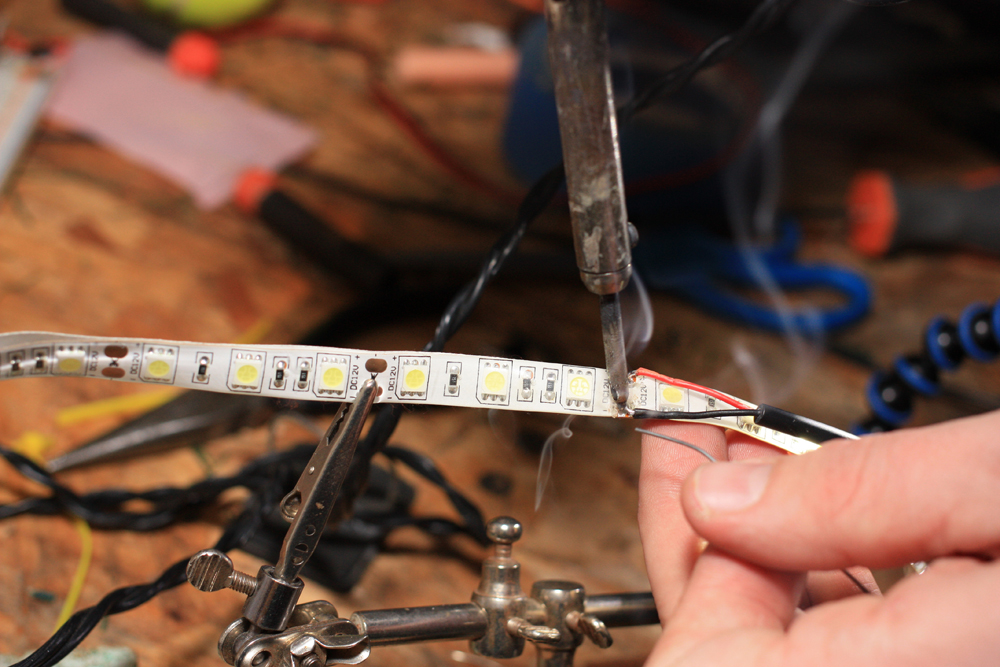
The first phase of the project was all about connecting the batteries to the LED light strip included in the kit. First we had to cut through the clear, weatherproof plastic that covers the LED tape to expose the wire connecting one LED to the next. Next, we had to solder the wires connecting the LEDs in the tape to the battery lead wire (Photo 2). Then we tested the connection by carefully attaching the newly-soldered battery leads to the battery pack. After verifying that all was working as designed we used the kit-supplied shrink tubing to make the connection weatherproof.
Now that the LED tape was prepped it was time to attach it to the handlebars. After removing the old grip tape from my bike, we experimented a bit with light placement. I didn’t want the lights to shine in my eyes and I didn’t want the LED tape to interfere with my grip or feel annoying when my hands were on the brake hoods or drops. After playing around we decided to run the lights straight across the bar, up and around the brake hoods, and then down the front of the drops. This arrangement made for maximum visibility from oncoming traffic without blinding me.
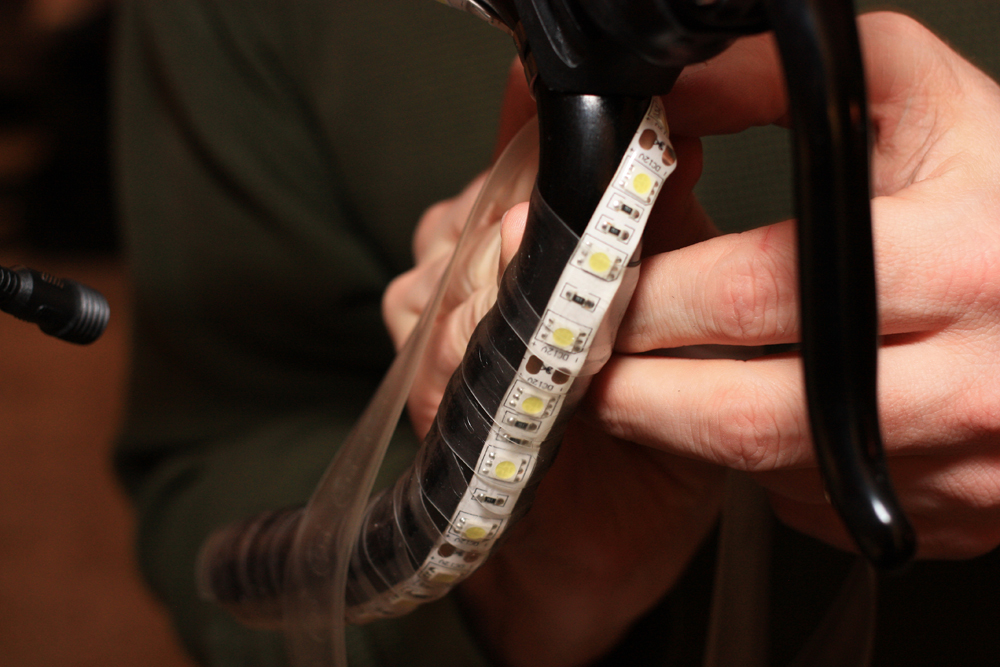
Once we took the adhesive backing off of the LED tape and positioned it on the bars, it was time to wrap the handlebars (Photo 3). There are several different options for transparent handlebar tape in the market. I chose clear Cinelli Jelly Ribbon tape and it’s worked well for me – it’s transparent enough to let the LEDs shine through, is comfortably grippy without being sticky, and has held up well over months of daily riding. For those who really like a padded grip, I think that standard handlebars would have room for both the lights and bar gel pads wrapped under the clear tape.
The last step was to attach the battery pack. For my first few rides I used the AA battery adapter provided by Adafruit with the kit, but I thought the battery pack was clunky and heavy so I upgraded to rechargeable 12V Li-ion batteries that we found on Amazon.com. These batteries only last about 45 minutes in the winter cold, but they’re much smaller and lighter than 8 AA batteries, and the 45 minutes of light I get from each charge is enough time to get me home from work in safety. I still keep the AA adapter around for longer night rides like Antelope by Moonlight, but for daily riding I stick to my little rechargeable battery pack tucked into my bento box.
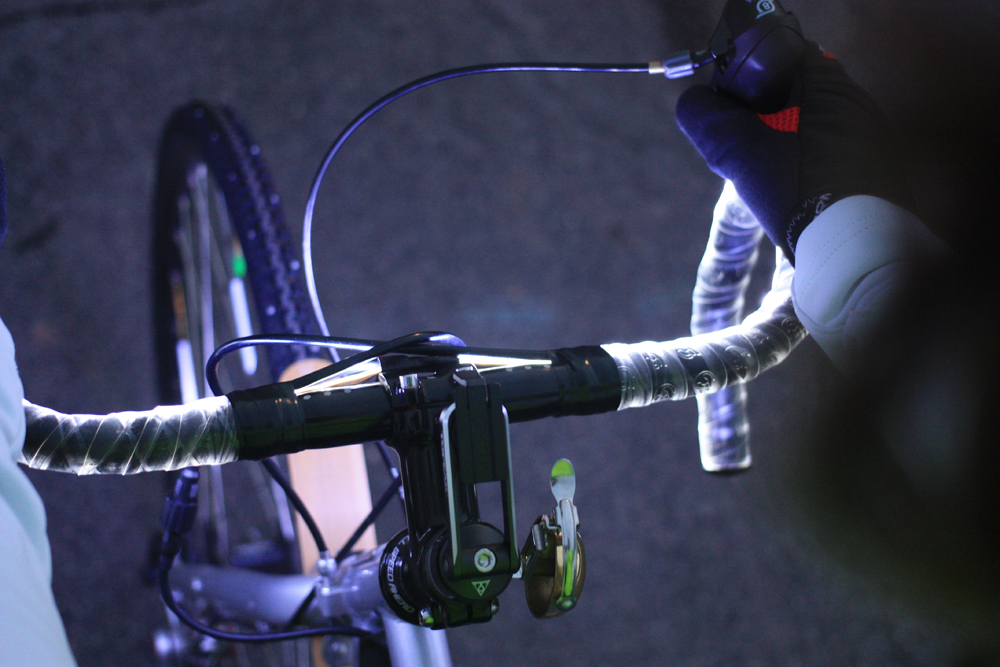
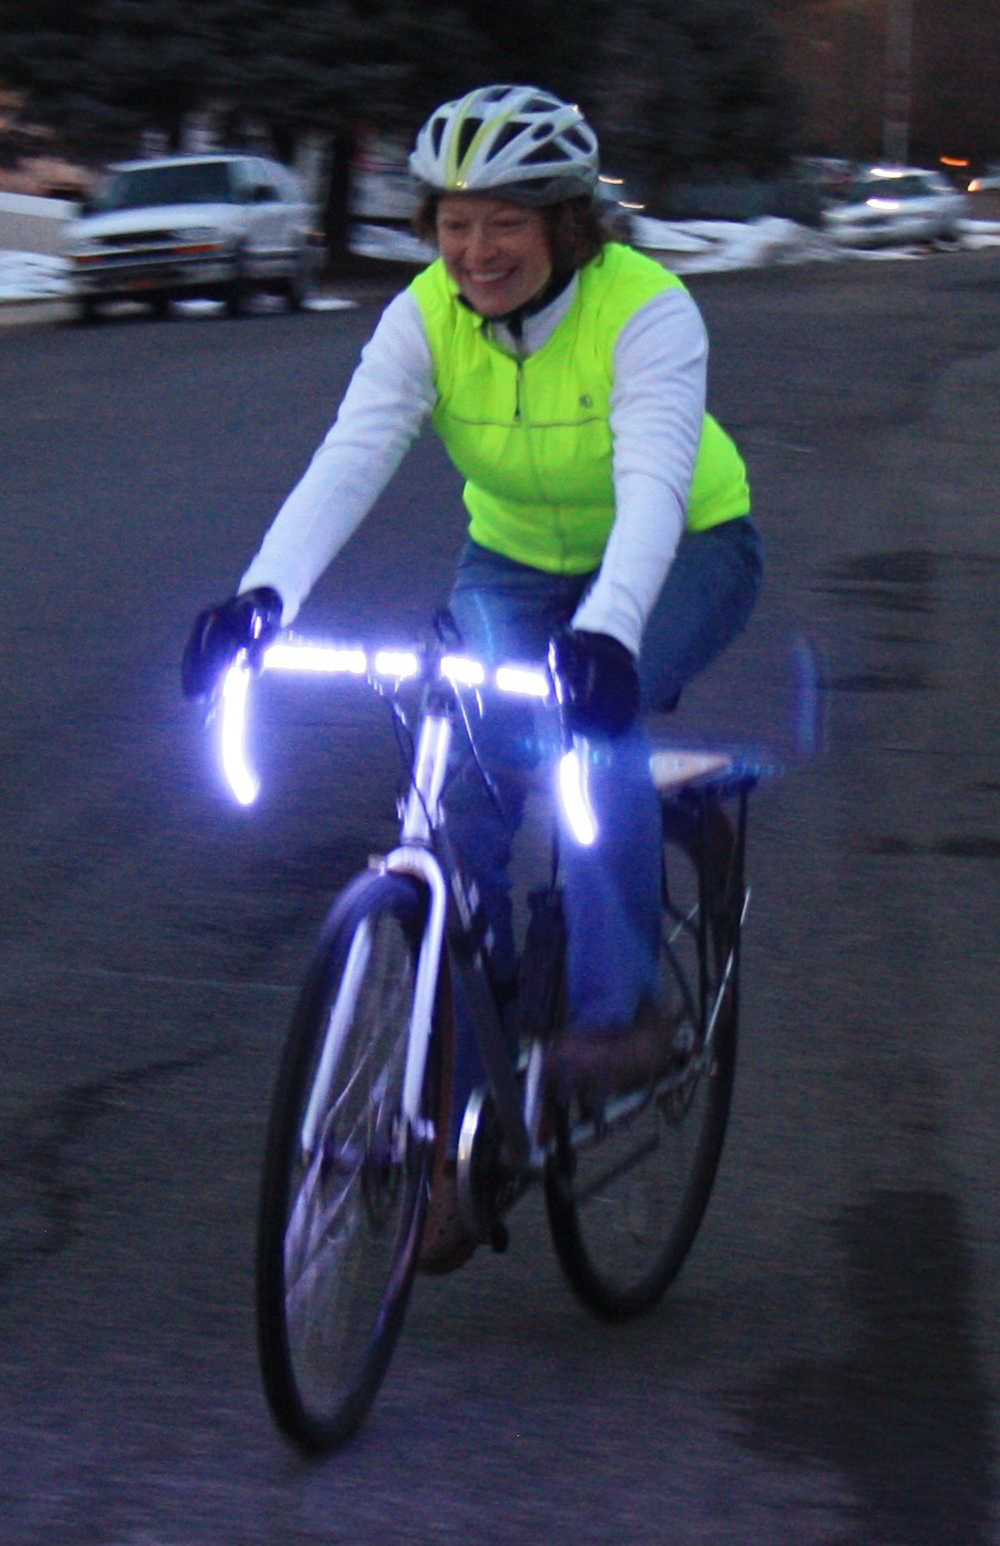
And voila, the job was done and it was time to go outside and play! The view from the rider’s perspective is perfect (Photo 4) – the handlebars glow pleasantly and the lights illuminate the road a bit but the glow is never distracting or annoying to me as I’m riding. And when I have my lights on I am clearly visible to traffic without blinding oncoming drivers (Photo 5).
I’ve been riding with my lights for several months now and have been very pleased with both the look and performance of my handlebar illumination. This was definitely a successful commuter bike upgrade. And I have to admit that while increased safety is the main benefit of my light-up handlebars, the icing on the cake is the big smile on my face time I pass by folks taking a twilight stroll and hear, “Woah, cool lights!”
Project Summary
Supplies needed:
• Adafruit LED Bike Handlebar kit
• Clear grip tape (I used Cinelli Jelly Ribbon Synthetic Road Bicycle Handlebar Tape)
• Heat source for shrink tubing
• Soldering iron
• X-Acto knife
• 8 AA Batteries (or I upgraded to a rechargeable 12V 1800mAh Lithium-ion Battery made for CCTV cameras)
• Bike
• Nerdy friend or significant other who likes to solder (optional)
Total cost: about $75
Increase in visibility and overall awesomeness: awesome